
Understanding damping curves helps you see how vibrations from your bow fade after each shot, impacting stability and accuracy. Clicker adjustments ensure your draw length stays consistent, which boosts shot precision. By analyzing damping curves, you can tweak damping settings for smoother vibrations and improved performance. Properly balancing damping and clicker settings can greatly enhance your shooting consistency. If you explore further, you’ll discover how these elements work together to optimize your archery skills.
Key Takeaways
- Reading damping curves reveals how quickly vibrations fade, guiding adjustments for optimal stability and responsiveness.
- Overdamping, underdamping, and critical damping patterns influence bow vibration behavior and shot consistency.
- Proper clicker settings ensure consistent draw length, improving accuracy and form over multiple shots.
- Adjusting damping influences vibration absorption, which affects aim stability and feedback during shooting.
- Fine-tuning both damping curves and clicker positions enhances overall bow performance and shot precision.
What Are Damping Curves and Why Do They Matter?

Have you ever wondered how a bow’s damping curve affects your shooting performance? It’s all about how quickly vibrations fade after the shot. The damping curve shows how energy dissipates from the bow’s limbs and riser, influencing stability and accuracy. If vibrations linger too long, they can cause minor shifts in your aim, leading to inconsistent shots. Conversely, a well-optimized damping curve absorbs vibrations efficiently, allowing you to focus better and shoot more precisely. Understanding this curve helps you select or tune bows to match your shooting style. It’s not just about reducing noise; it’s about controlling vibrations to improve your overall effectiveness. Recognizing how damping curves work empowers you to make smarter choices for better consistency and performance. Proper headphone repair can also help maintain optimal vibration control in electronic devices.
The Science Behind Damping and Vibration Absorption

Understanding the science behind damping and vibration absorption requires a grasp of how energy moves through a bow when it’s shot. When you fire, vibrations travel from the string into the riser and limbs, creating oscillations. Damping materials and mechanisms work to dissipate this energy, reducing unwanted movement. Vibration absorption occurs through material properties that convert kinetic energy into heat or redirect it away from critical areas. This process improves stability, accuracy, and comfort. Additionally, the material density influences damping effectiveness by affecting how vibrations are absorbed and dissipated. –
How to Read and Interpret Damping Curves

When you look at damping curves, you need to identify the damping type by examining the shape and behavior of the curve. Pay attention to oscillation patterns to see how quickly vibrations fade, and analyze the slope to determine the damping efficiency. These clues help you interpret the curve and make informed adjustments to your setup. Additionally, understanding how tuning modifications like suspension upgrades influence damping characteristics can help optimize ride quality.
Identifying Damping Types
To identify damping types on a damping curve, you need to observe how the oscillations decrease over time. Look at the shape and rate of decay in the curve. A quick decline indicates overdamping, where vibrations settle fast without oscillating much. Slight oscillations with gradual reduction suggest underdamping. If the curve shows sustained oscillations that slowly fade, it’s lightly damped. Critical damping is characterized by the fastest return to stability without oscillation. Recognizing these patterns helps you understand how your system responds. Monitoring social media can also provide insights into market sentiment that influence damping behaviors in trading systems.
Analyzing Oscillation Patterns
Analyzing oscillation patterns on damping curves involves carefully observing how the vibrations change over time. You’ll notice whether the oscillations decrease rapidly or gradually, indicating different damping levels. Look for the amplitude of each wave; a quick drop suggests strong damping, while sustained oscillations point to weak damping. Pay attention to how the peaks and troughs evolve—do they become smaller consistently or stay steady? Notice any irregularities or pauses in the pattern, which might signal changing damping conditions. By tracking these changes, you can gauge how effectively a system absorbs energy. Recognizing these patterns helps you understand the damping behavior, allowing for precise adjustments or troubleshooting in mechanical or acoustic systems. Clear interpretation of these oscillation trends is essential for accurate assessment, especially when analyzing complex damping curves.
Interpreting Curve Slopes
Interpreting curve slopes is essential for understanding damping behavior, as the steepness of a damping curve directly reflects how quickly vibrations decay. A steeper slope indicates rapid energy loss, meaning the instrument or system quiets faster. Conversely, a gentler slope shows prolonged vibrations, requiring more time to settle. To read these slopes effectively, focus on the angle of the curve’s descent and how it changes over time. Recognize that sharp declines point to high damping, while gradual slopes suggest low damping. Understanding these nuances helps you fine-tune your instrument or system for ideal performance.
- Steep slopes = quick damping, less sustain
- Gentle slopes = slow damping, more sustain
- Changes in slope indicate shifts in damping behavior
- Consistent slopes suggest stable damping properties
- Analyzing slopes aids in precise adjustments
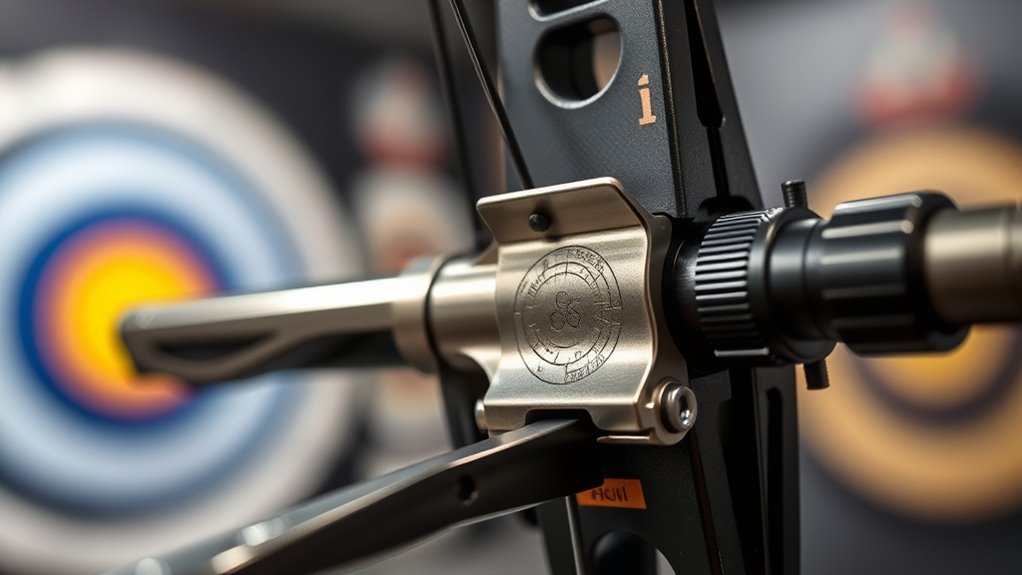
The Role of Clickers in Achieving Proper Draw Length
Clickers play a crucial role in helping archers achieve their ideal draw length by providing tactile feedback and a clear stopping point. When you draw your bow, the clicker creates a distinct sound or sensation at a specific point, signaling that you’ve reached your desired length. This feedback helps you develop consistency, ensuring each shot is taken from the same position. Without a clicker, it’s easy to over- or under-draw, affecting accuracy and arrow velocity. Properly adjusted clickers serve as a reliable cue, guiding you to maintain proper form. Over time, this consistency improves your shooting rhythm and accuracy. Remember, the right clicker setting depends on your individual draw length, making precise adjustment essential for peak performance. Inspiration from father-daughter bonds reminds us that consistency and support are key to success.
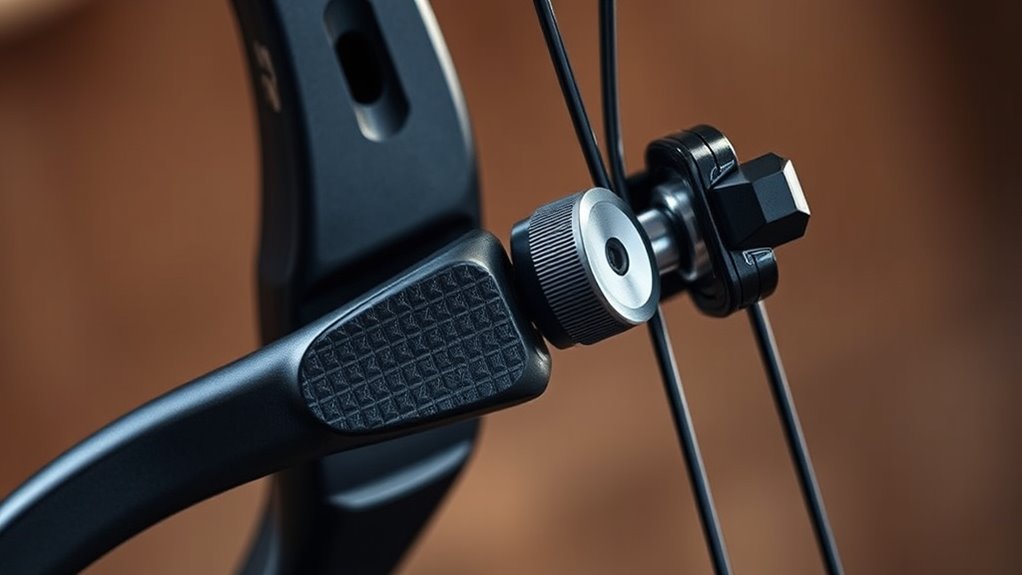
Techniques for Adjusting Your Clicker for Optimal Performance

To get the most out of your bow, you need to fine-tune your clicker resistance and damping settings. Adjusting these correctly can improve your shot consistency and comfort. Let’s explore practical techniques to optimize your clicker for peak performance.
Fine-Tuning Clicker Resistance
Adjusting your clicker’s resistance is essential for achieving the right balance between responsiveness and control. Proper resistance ensures smooth operation without requiring excessive force or feeling too loose. To fine-tune, start by gradually increasing or decreasing resistance until the clicker feels comfortable and predictable. Pay attention to how the resistance affects your shot accuracy and consistency. Keep resistance consistent across all your equipment. Adjust based on your shooting style and strength. Regularly revisit and tweak resistance as your skills improve. Additionally, understanding how contrast ratio influences visual clarity can help you better calibrate your equipment for optimal performance.
Adjusting Damping Settings
Fine-tuning damping settings is essential for optimizing your clicker’s performance, as it directly influences how smoothly and responsively it operates. To adjust damping, start by identifying whether your clicker feels too stiff or too loose. If it’s too stiff, loosen the damping control gradually until you feel a smoother, more responsive action. Conversely, if it’s too loose, tighten the damping slightly to improve control. Make small adjustments and test each change by cycling through your full range of motion. Keep in mind that damping affects how quickly the clicker responds to your movements, so aim for a balance that provides both precision and ease of use. Regularly fine-tuning these settings ensures your clicker performs reliably in various shooting conditions. Incorporating protective styling benefits from related craft techniques can help maintain the integrity of your equipment during adjustments.
Tips for Combining Damping and Clicker Settings to Improve Accuracy

Combining damping and clicker settings effectively requires understanding how each adjustment influences the bow’s response. Damping controls how quickly vibrations fade, improving stability, while the clicker sets the target draw length, affecting consistency. To maximize accuracy, tweak these settings together rather than separately, finding a balance that suits your shooting style. For example, increasing damping can smooth out erratic vibrations, but too much may reduce feedback. Adjusting the clicker ensures consistent draw length, but pairing it with damping helps maintain stability during shots. Remember, small changes can have significant effects.
- Prioritize stability over raw speed when tuning
- Use damping to enhance shot consistency
- Match clicker height to your natural draw length
- Adjust both gradually to avoid overshooting
- Test settings under real shooting conditions
Frequently Asked Questions
How Do Damping Curves Vary Between Different Types of Archery Equipment?
You notice that damping curves differ across archery equipment types because of their unique materials and designs. For example, modern composite bows often have smoother damping curves, reducing vibrations quickly. Traditional wooden bows may show sharper damping peaks, indicating longer vibrations. These variations affect how your equipment feels and performs, helping you choose gear that matches your shooting style. Adjusting damping helps optimize comfort, accuracy, and consistency with your specific bow or arrow setup.
Can Improper Clicker Adjustments Damage My Bow or Arrows?
You might think improper clicker adjustments won’t harm your gear, but they can cause damage over time. If your clicker is set too high or low, it can force your bow or arrows to endure unnecessary stress, leading to premature wear or even breakage. Always guarantee your clicker is correctly calibrated to avoid putting undue strain on your equipment, helping it last longer and perform better.
What Are Common Signs Indicating I Need to Adjust My Damping or Clicker?
If you notice your bow feels off when shooting, it’s a sign you might need to adjust your damping or clicker. Common signs include inconsistent arrow flight, sound changes, or increased vibration. You might also see fluctuations in your shot accuracy or notice more hand shock. Pay attention to these cues, and experiment with damping or clicker tweaks until your shots become smoother, more consistent, and comfortable.
How Often Should I Revisit and Modify Damping and Clicker Settings?
Most skiers check their damping and clicker settings about every 10 to 15 days or after significant weather changes. You should revisit these adjustments whenever you notice handling issues, inconsistent turns, or after a fall. Regularly tuning your equipment guarantees peak performance and safety. If conditions change or you’re trying a new style, it’s wise to tweak your settings sooner rather than later, keeping your ride smooth and responsive.
Are There Specific Damping or Clicker Settings for Beginner Versus Advanced Archers?
You might wonder if beginner and advanced archers need different damping or clicker settings. Generally, beginners benefit from softer damping and more forgiving clicker adjustments to develop proper form and confidence. Advanced archers, on the other hand, prefer precise settings tailored to their shooting style for consistency. You should experiment with these settings based on your skill level and comfort, gradually refining them as you improve.
Conclusion
Mastering damping curves and clicker adjustments is like tuning a finely crafted instrument—you’ll release smoother shots and greater accuracy. When you understand how each setting influences your bow’s harmony, every shot becomes a note in a perfect melody. Keep experimenting, trust your instincts, and soon you’ll be orchestrating a performance that echoes with confidence and precision. Remember, the right tune transforms a good archer into a true virtuoso on the range.