
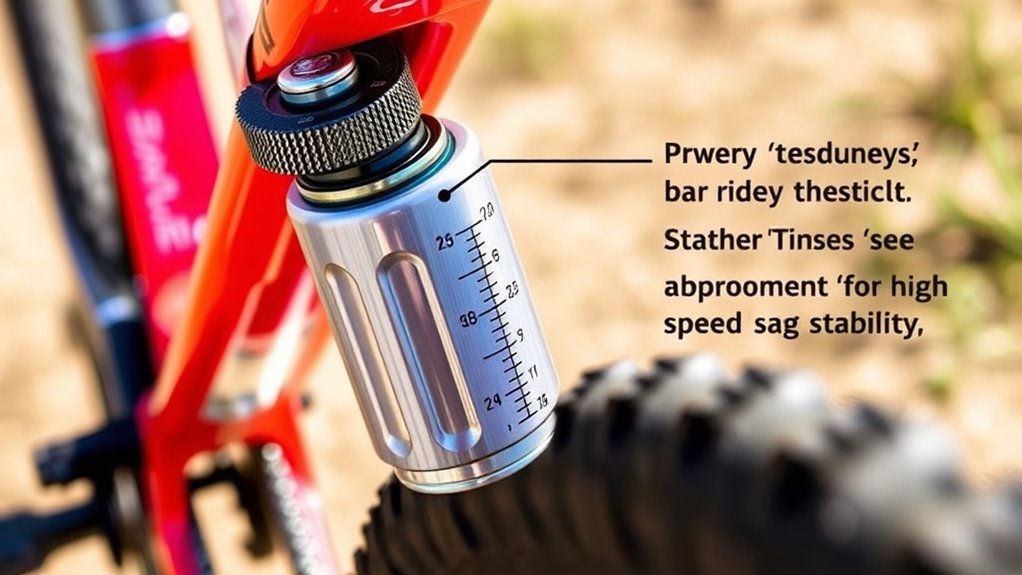
Proper sag setup is key to high-speed stability and confident handling. It guarantees your suspension responds effectively to terrain by maintaining ideal tire contact and shock absorption. To achieve this, you need to measure and adjust your suspension preload accurately based on your weight and riding style, avoiding common mistakes. Regular checks and fine-tuning help adapt your bike to different conditions, improving safety and performance. Continue exploring to reveal the secrets of perfect suspension setup.
Key Takeaways
- Proper sag ensures optimal tire contact, enhancing stability and control during high-speed riding.
- Accurate sag measurement maintains suspension responsiveness and prevents harsh impacts or instability.
- Adjusting sag based on rider weight and terrain optimizes bump absorption and handling precision.
- Regular sag checks help identify suspension issues that could compromise high-speed safety.
- Correct sag setup balances energy absorption with control, crucial for safe, high-speed trail riding.
Understanding the Role of Sag in Suspension Performance

Understanding the role of sag in suspension performance is essential because it directly affects how your bike responds to terrain. Sag determines how much your suspension compresses under your weight, setting the foundation for ideal handling. If your sag is too high, your suspension won’t absorb bumps effectively, making the ride harsh and unstable. Conversely, too little sag means the suspension is too stiff, limiting traction and comfort. Proper sag ensures that your suspension is balanced, providing enough give for rough terrain while maintaining control. It also influences how quickly your bike reacts to changes in terrain, affecting both comfort and safety. Adjusting sag correctly can optimize performance and support, leading to a smoother and safer ride on diverse terrains. By understanding sag, you can fine-tune your suspension for better stability and confidence on every trail.
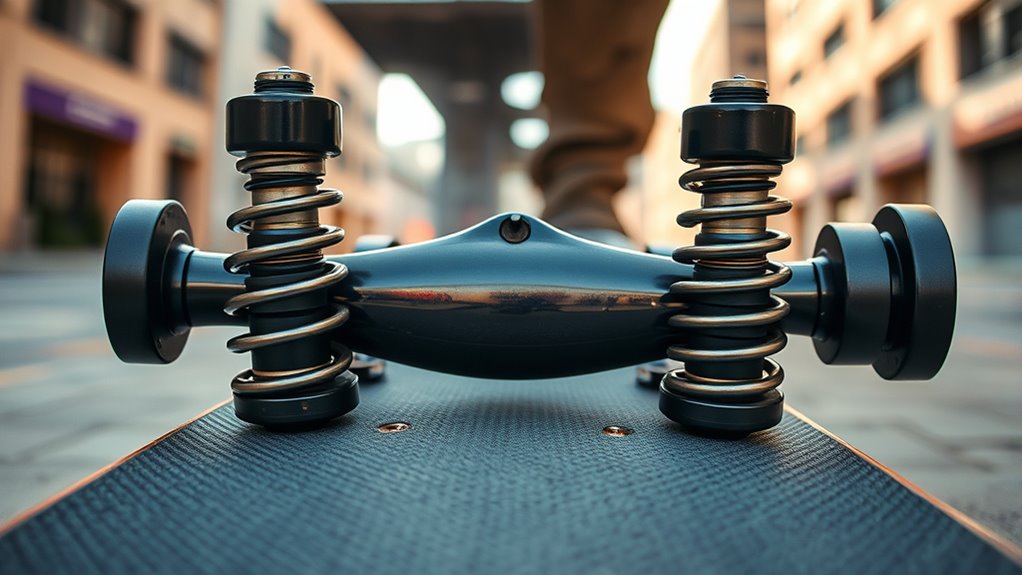
The Science Behind Sag and Its Impact on Handling

Sag isn’t just about how much your suspension compresses; it’s rooted in the physics of forces and energy transfer. When you hit a bump, your suspension absorbs impact by compressing, transferring energy through springs and dampers. Proper sag guarantees this energy transfer happens smoothly, maintaining contact between your tires and the road. Too little sag causes the suspension to resist compression, reducing grip and making handling stiff. Too much sag allows excessive movement, resulting in sluggish response and instability. Understanding how forces distribute during compression helps you fine-tune sag for ideal handling. It’s about balancing energy absorption with control, so your bike remains stable at high speeds and responsive in turns. Achieving the correct sag also plays a crucial role in Volkswagen Tuning, as it influences overall handling dynamics. Mastering this science improves your ride’s precision, safety, and overall performance.
Tools and Equipment Needed for Accurate Sag Measurement

To measure your suspension sag accurately, you’ll need specific tools and equipment designed for precision. First, a reliable ruler or tape measure is essential to gauge the distance between the fully extended suspension and the compressed state. A shock pump or air pressure gauge helps you set and adjust air pressure accurately if you’re working with air-sprung suspensions. A piece of tape or marker can be used to mark the shock or fork for easy measurement. A clean cloth or rag is useful for wiping away dirt or grease that might interfere with measurements. Lastly, having a notebook or digital device to record your measurements guarantees consistency over multiple checks. These tools help you obtain accurate, repeatable sag measurements, forming the basis for ideal suspension setup. Understanding suspension dynamics can further improve your setup accuracy.
Preparing Your Bike for Sag Adjustment

Before you begin adjusting your suspension sag, it’s important to prepare your bike properly. Start by ensuring your bike is on a stable, level surface, and remove any accessories or gear that could affect weight distribution. Check that your tire pressure is at the recommended level, as low or high pressures can influence sag. If your bike has preload adjustments, set them to a neutral or baseline position to ensure consistency. Make sure the suspension components are clean and free of dirt or debris, which can interfere with proper adjustment. Confirm that the shock or fork is fully extended, and remove any damping or compression adjustments that might skew your measurements. Taking these steps creates a reliable foundation for accurate sag setup. Additionally, understanding suspension basics can help you make more precise adjustments.
How to Measure Your Sag Correctly
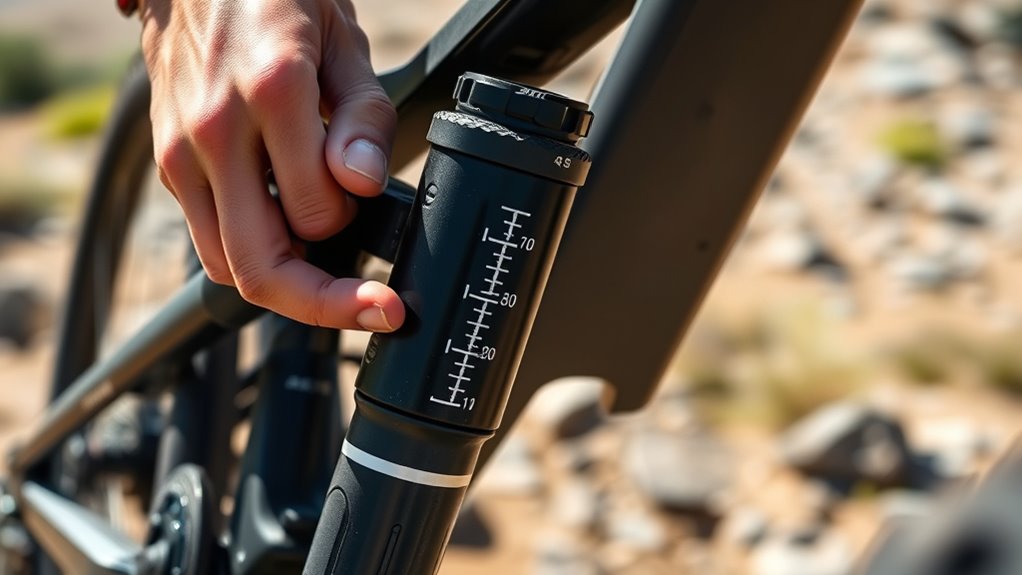
Wondering how to get an accurate measurement of your suspension sag? First, verify your bike is on a level surface with no rider weight. Sit on your bike in your normal riding gear, maintaining a comfortable position. Have a helper hold the bike upright if needed. Find a reference point on your fork and shock, like a zip tie or marker, and gently bounce the bike to settle the suspension. Use a ruler or tape measure to note how much the suspension compresses from its fully extended position. Record these measurements for both front and rear. Precise sag measurement is key to setting up your bike for ideal handling and stability. Take your time to get consistent, repeatable results. Understanding your interest rate can also help you budget for upgrades or repairs related to your bike’s suspension system.
Step-by-Step Guide to Setting Your Sag Properly
Setting your sag correctly is crucial for peak bike performance, so follow these steps carefully. First, put on your riding gear and find a flat, even surface. Next, position yourself on the bike in your typical riding stance. With help or by yourself, measure the distance between the rear axle and a fixed point on the frame, then record this number. Use the table below to adjust your shock or fork preload accordingly:
| Rider Weight | Sag Setting (mm) | Adjustment Needed |
|---|---|---|
| Light | 10-15 | Loosen preload |
| Medium | 15-25 | Fine-tune preload |
| Heavy | 25-30 | Tighten preload |
Repeat the measurement until your sag matches your target, ensuring ideal handling and comfort. Properly adjusting your preload can also help protect your wooden furniture from undue stress and damage over time.
Common Mistakes to Avoid During Sag Setup
One common mistake is ignoring proper sag measurement, which can lead to poor handling or suspension damage. You also want to pay attention to suspension tension, as overlooking it can throw off your setup. Failing to address these issues early can cause ongoing problems and compromise your ride quality. Additionally, understanding how performance upgrades influence your suspension setup can help you achieve better stability at high speeds.
Ignoring Proper Sag Measurement
Ignoring proper sag measurement is a common mistake that can substantially affect your bike’s handling and safety. When you skip accurate sag setup, your suspension may be too stiff or too soft, reducing control and increasing wear. To visualize the impact, consider this comparison:
| Proper Sag Setup | Ignoring Sag Measurement |
|---|---|
| Smooth suspension response | Unpredictable, harsh ride |
| Maintains stability at high speed | Loss of control and confidence |
| Longer component lifespan | Premature wear and damage |
Without correct sag, your bike can’t perform ideally, especially during high-speed sections or technical terrain. Always measure sag carefully, ensuring your suspension is tailored to your weight and riding style. Skipping this step jeopardizes your safety and ride quality. Proper adjustment ensures optimal performance and longevity of your bike components.
Overlooking Suspension Tension
Have you checked the suspension tension before adjusting your sag? Overlooking this step can lead to improper setup and compromised handling. Suspension tension affects how your bike responds to rider weight and terrain. If it’s too loose, your suspension may bottom out or feel spongy; too tight, and it won’t absorb bumps effectively. Always verify the factory-recommended tension or adjust according to your weight and riding style. Proper headphone compatibility is essential for ensuring your audio setup is optimized for different devices. Neglecting this can cause inconsistent sag readings and poor high-speed stability. Before measuring sag, ensure your suspension is properly tensioned, then proceed with setting your sag. This small step ensures your suspension functions effectively, giving you better control, comfort, and safety on the trail. Don’t skip this; it’s essential for a reliable and balanced setup.
Fine-Tuning Sag for Different Riding Styles and Terrain

Adjusting your sag properly is essential because different riding styles and terrain demands require tailored suspension settings. When fine-tuning, consider how you ride and where you’ll ride. For aggressive downhill racing, you need less sag for responsiveness, while trail riding benefits from more sag to absorb bumps. Cross-country riding may fall somewhere in between. To optimize your setup:
- Increase sag for softer suspension on rough terrain
- Decrease sag for better handling and control on smooth surfaces
- Adjust sag based on rider weight and gear load
- Fine-tune incrementally, testing after each change
- Remember that suspension settings can significantly influence your ride quality and safety.
Regular Maintenance and Checking Your Sag

Regularly checking and maintaining your suspension setup guarantees your bike performs consistently and safely. Make it a habit to inspect your sag before each ride, especially after rough terrain or crashes. Use a reliable measuring method, like a zip tie or ruler, to verify your sag remains within your ideal range. Check for any leaks, damaged seals, or loose components in your suspension system. Clean your suspension components regularly to prevent dirt from affecting performance. If you notice changes in ride feel or handling, re-measure your sag and adjust if necessary. Consistent maintenance helps you catch issues early, prolongs the life of your suspension, and ensures your bike remains responsive and stable at high speeds. Staying proactive keeps your rides smooth and predictable.
Troubleshooting Sag-Related Handling Issues

When you notice handling issues like excessive nose diving, harsh impacts, or loss of traction, sag-related problems are often to blame. To troubleshoot, start by checking your sag settings—if they’re too loose or tight, your bike won’t handle properly. Adjust your preload accordingly, ensuring your suspension isn’t overly compressed or extended. Look for uneven sag between the front and rear, which can cause instability. Also, inspect your suspension components for leaks, wear, or damage that could affect performance. Ultimately, verify your tire pressure and ensure your suspension is suited to your riding style and terrain. Correcting these issues can considerably improve high-speed stability and overall handling, making your ride smoother and more predictable.
Frequently Asked Questions
How Often Should I Recheck My Suspension Sag?
You should check your suspension sag regularly to guarantee peak performance. A good rule of thumb is to recheck it every 25-50 hours of riding or after any significant impact or adjustment. If you ride in rough conditions or notice handling changes, do it more often. Consistently maintaining proper sag helps your bike stay stable at high speeds and improves overall control and comfort.
Can Incorrect Sag Setup Cause Bike Damage?
Did you know that incorrect suspension sag can lead to increased wear on your bike’s components? Yes, improper sag setup can cause damage over time, such as stressing the fork or shock beyond safe limits. If your sag is off, you risk compromising your bike’s handling and durability. Always verify your sag is correctly set; it’s a simple step that protects your bike from unnecessary damage and keeps you riding smoothly.
What’s the Ideal Sag Setting for Different Rider Weights?
You want to know the ideal sag setting for different rider weights. To find this, you’ll need to measure your sag based on your weight and bike type. Generally, aim for about 20-30% of your suspension travel. Heavier riders need slightly more sag for stability, while lighter riders should set closer to the lower end. Adjust accordingly for comfort, control, and high-speed performance.
How Does Suspension Sag Affect Cornering Performance?
Imagine you’re carving a turn, and your bike feels glued to the trail. Proper suspension sag keeps your bike balanced, allowing it to respond smoothly to your inputs. When sag is set correctly, it maximizes tire contact, enhancing grip and stability in corners. Conversely, too little or too much sag can cause sluggish handling or tire washout, reducing your confidence and control during high-speed cornering.
Is It Necessary to Adjust Sag After Changing Tires or Wheels?
When you change tires or wheels, adjusting your suspension sag isn’t always necessary, but it’s a good idea to check. Different tires and wheels can alter ride height and weight distribution, impacting stability. You should verify if your suspension settings remain within ideal range after the swap. If not, make adjustments to maintain proper handling and ensure your bike stays balanced and responsive at high speeds.
Conclusion
Mastering your sag setup is key to revealing your bike’s true potential and enjoying smoother, more controlled rides. By understanding, measuring, and fine-tuning your sag, you make every ride safer and more enjoyable. Are you willing to ignore the small details that make a big difference? Remember, consistent maintenance and attention to your suspension’s performance keep you ahead of the game and ready for any trail. Your perfect ride starts with the right setup—are you ready to take it seriously?