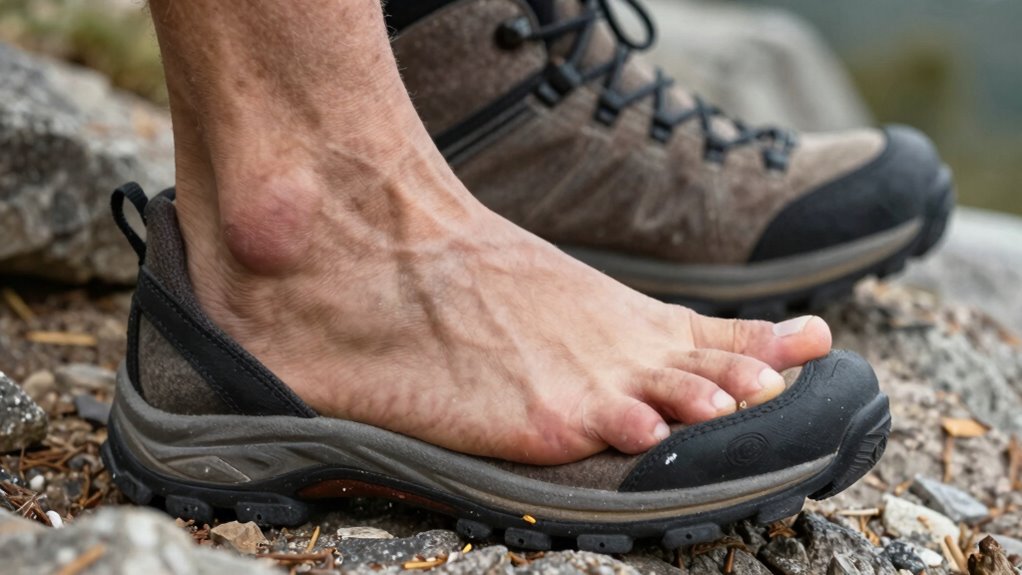
To prevent bruised toes on descents, make certain your hiking boots fit properly by checking that there’s about a thumb’s width of space behind your longest toe with socks on, standing upright. Confirm your toes can wiggle comfortably without rubbing against the front, and adjust laces if needed. Proper fit, combined with regular checks and some fitting techniques, helps protect your toes. Keep going to discover more tips for a perfect fit that keeps your toes safe.
Key Takeaways
- Conduct the fit test at day’s end with the same socks you’ll wear hiking for accurate assessment.
- Ensure about a thumb’s width of space behind the longest toe for proper toe room.
- Stand upright and simulate descent pressure with hiking poles to verify toes don’t rub or press against the toe box.
- Recheck fit before each hike to prevent cramping or slipping during descents.
- Use lacing adjustments and padding to maintain snug comfort and prevent bruising on steep terrain.
Why Proper Boot Fit Prevents Toe Bruising
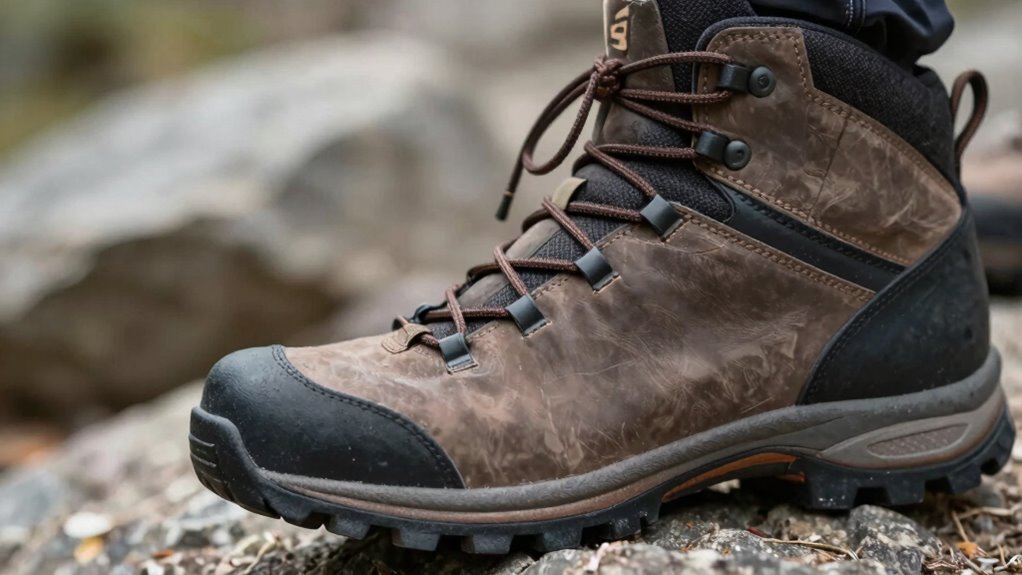
A proper boot fit is vital because it guarantees your toes have enough space to move comfortably without being squeezed. The shoe material plays a key role, as flexible yet supportive materials like leather or synthetic fabrics adapt better to your foot’s shape, reducing pressure points. The toe box shape also matters; a rounded or wider toe box allows your toes to spread naturally, preventing unnecessary compression during hikes. When your boots fit well, your toes aren’t forced against the front of the shoe, which minimizes the risk of bruising on descents. Ill-fitting boots with narrow or misshapen toe boxes cause friction and pressure, leading to pain and injuries. Ensuring your boots are made with energy-efficient materials can also contribute to overall comfort and sustainability. Choosing the right shoe material and toe box shape ensures your toes stay protected and comfortable, even on challenging terrain. Additionally, performing a proper boot fit test before heading out can help identify potential issues and prevent toe bruising during intense descents. Properly fitted boots also help maintain foot health, reducing the chances of blisters and long-term foot problems.
How to Check If Your Hiking Boots Fit Perfectly

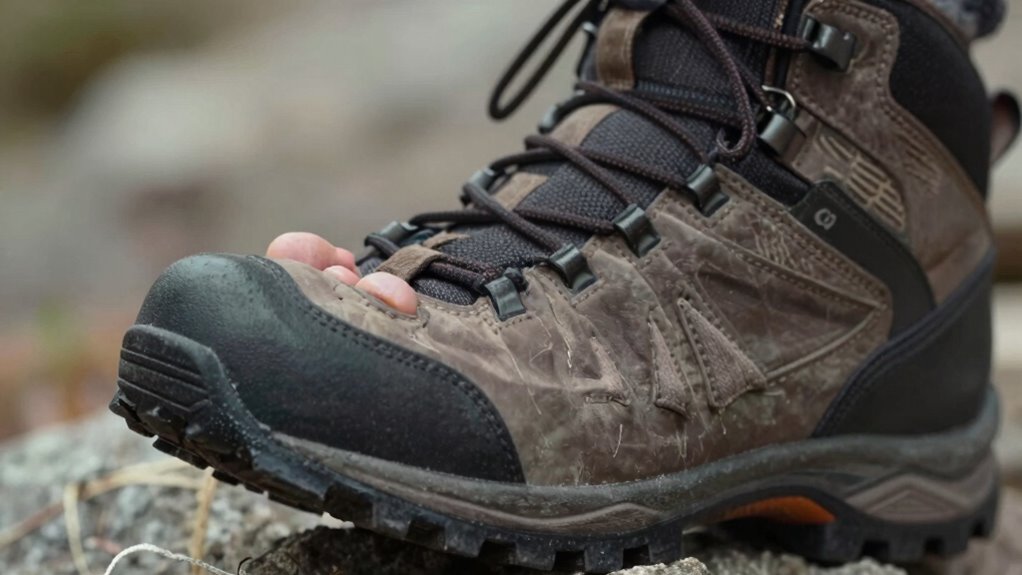
To guarantee your hiking boots fit perfectly, you should try them on at the end of the day when your feet are most swollen, mimicking the conditions you’ll experience on a hike. Wear the same sock materials you plan to use, whether thick wool or lightweight synthetic, to get an accurate fit. Stand up and walk around to check for any tight spots or pinching. Use your hiking poles to simulate descent pressure and see if your toes move comfortably without rubbing against the toe box. Ensure there’s about a thumb’s width of space behind your longest toe—this prevents bruising on downhill sections. A proper fit feels snug but not tight, allowing your toes to wiggle slightly without excess movement. Additionally, paying attention to piercing care and hygiene can help prevent discomfort caused by irritation or infection during active use. Regular boot maintenance can also prolong the life of your footwear and maintain optimal fit over time. Incorporating proper sock choice can further enhance comfort and prevent blisters during long hikes. Checking the fit over extended periods ensures your boots remain comfortable as they break in and adapt to your foot shape. Remember, understanding the foot shape and size can make all the difference in finding a perfect fit.
Signs Your Boots Are Too Tight or Too Loose
If your boots feel painfully tight, you might experience discomfort and restricted movement. On the other hand, boots that are too loose can make it difficult to control your steps and feel stable. Recognizing these signs helps you find the right fit for a safer, more comfortable hike. Ensuring proper fit and comfort is essential, as it directly impacts your ability to navigate terrain effectively and reduces the risk of injury. Additionally, proper camping gear like supportive footwear can provide extra stability during descents. Choosing the right footwear materials can also influence how well your boots conform to your feet over time, enhancing comfort and performance. Being aware of wave and wind conditions can help you select appropriate footwear that offers better grip and support on variable surfaces.
Tight Boots Cause Discomfort
Tight boots can cause immediate discomfort, making your toes feel cramped and sore. If the shoe material is stiff or inflexible, it worsens the pressure, leading to pinching and pain. Proper boot lacing is essential; if it’s too tight, it constricts your foot and restricts blood flow, causing numbness or aching. You might notice that your toes press against the front of the boot, or that your foot feels squeezed after just a short walk. Discomfort often worsens during activity, especially on steep descents. Ensuring your boots aren’t overly tight involves checking that your toes have some wiggle room and that laces are snug but not cutting off circulation. Correct fit keeps your foot comfortable and prevents soreness during your hike. Additionally, understanding the importance of Free Floating can help you choose boots with a better fit and flexibility, reducing the risk of bruised toes on descents.
Loose Boots Reduce Control
When boots are too loose, you lose the control needed for safe and comfortable hiking. Loose boots can cause your foot to slide, especially during descents, making it hard to maintain stability. The shoe material plays a role—stiffer materials like leather may offer better support, while softer fabrics can feel more forgiving but less secure. Heel height also matters; a heel that’s too high or too low can affect your balance. If your heel lifts with each step, you won’t have the precise control necessary for uneven terrain. Proper fit ensures your foot stays snug without feeling tight. If your boots feel loose, you might notice slipping or shifting, which increases the risk of injury and reduces your confidence on the trail. Additionally, proper footwear fit is essential for preventing blisters and hot spots during extended hikes. Ensuring your boots fit well helps maintain your overall safety and stability on unpredictable terrain, and checking for heel lift can help you identify if your boots are too loose.
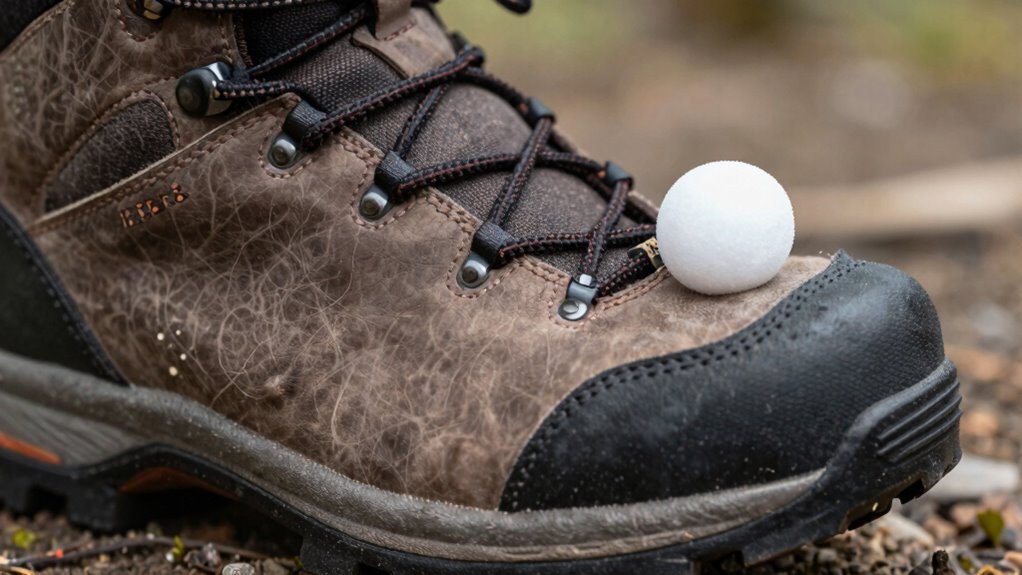
How to Make Sure You Have Enough Toe Room
To make certain your boots have enough toe room, start by measuring the space with your foot in your usual hiking socks. Make sure there’s about a thumb’s width of space between your longest toe and the front of the boot. Before hitting the trails, always check the fit again to confirm your toes aren’t cramped or sliding around. Ensuring proper foot measurement is essential for comfortable, safe, and effective footwear fit. Additionally, paying attention to boot fit factors like heel hold and overall comfort can help prevent discomfort during descents. Proper footwear fit can also influence your balance and stability on uneven terrain, reducing the risk of blisters or injuries, as understanding different artistic styles can lead to better footwear choices that match your activity needs.
Proper Toe Space Measurement
Ensuring you have enough toe room begins with measuring the space accurately. To do this, stand upright in your boots with socks on, as socks compatibility affects fit and foot swelling can change foot size during activity. Check the length by placing your toes gently against the front of the boot; there should be about a thumb’s width of space. Use this table as a guide:
| Toe Space | Description | Importance |
|---|---|---|
| Too Tight | No extra room, causes bruising | Leads to discomfort on descents |
| Just Right | About a thumb’s width | Prevents bruised toes |
| Too Loose | Excessive space, foot slides | Affects stability |
| Excessive | Too much room for movement | Increases foot swelling risk |
Measuring carefully ensures a proper fit, which is key to preventing discomfort. Proper foot measurement helps in selecting the right size and prevents issues like bruised toes during descents. Additionally, understanding how foot swelling varies during activity can help you choose a more comfortable fit, especially when considering shoe design that accommodates swelling.
Checking Fit Before Hikes
Before hitting the trail, verifying your boot fit is vital to prevent discomfort and injuries. Make sure there’s enough toe room by standing upright and checking that your toes don’t touch the front of the boot. Push your foot forward slightly to see if your toes have about a thumb’s width of space. This ensures proper fit and prevents bruised toes on descents. Also, evaluate ankle support; your ankle should feel snug but not tight, offering stability without restricting movement. Consider sole durability—your boots should feel firm and supportive, especially when walking downhill. A well-fitting boot with adequate toe space, solid ankle support, and durable soles helps you maintain control and comfort, reducing the risk of blisters and foot pain during your hike.
Common Fitting Mistakes That Cause Bruised Toes
Many common fitting mistakes can lead to bruised toes, often because shoes aren’t properly aligned with your foot’s shape. One mistake is choosing shoes with too thick socks, which can make your toes cramp in the toe box. Another is ignoring arch support, causing your foot to slide forward during descents, trapping your toes. Poorly fitted shoes that are too tight or too loose also increase pressure on your toes. To avoid these issues, pay attention to fit and support. Here’s a quick comparison:
| Mistake | Effect |
|---|---|
| Using overly thick socks | Toe crowding and bruising |
| Neglecting arch support | Sliding forward, toe impact |
| Improper shoe size | Excess pressure and bruising |
Correct fit involves proper sock choice and suitable arch support to prevent bruised toes.
Tips for Adjusting Your Boots During a Hike
Adjusting your boots during a hike is crucial to maintaining comfort and preventing injuries. Start by checking your shoe lacing; loosen or tighten it as needed to prevent pinching or pressure points, especially around the toes. Proper lacing ensures your foot stays secure without restricting blood flow. If you experience toe discomfort, consider adding toe padding inside your boots to cushion sensitive areas and reduce impact during descents. Re-lace your boots carefully, ensuring there’s enough space in the toe box for movement but not so loose that your foot shifts. Regular adjustments throughout your hike help maintain fit and minimize the risk of bruised toes. Keep a small kit handy with laces and padding supplies for quick fixes on the trail.
Extra Gear and Techniques to Protect Your Toes

Using the right gear can make a significant difference in protecting your toes during a hike. Extra gear like shoe insoles and toe caps can provide added cushioning and protection on rough terrain. Here are four techniques to keep your toes safe:
- Use specialized shoe insoles to cushion your toes and absorb shock during descents.
- Apply toe caps—these provide a protective barrier against bumps and prevent bruising.
- Wear over-the-counter gel pads in areas prone to pressure points.
- Adjust your lacing pattern to create a snug fit that minimizes toe movement and reduces impact.
Incorporating these gear options and techniques ensures your toes stay protected, especially during challenging downhill sections.
When to Replace or Fix Your Hiking Boots
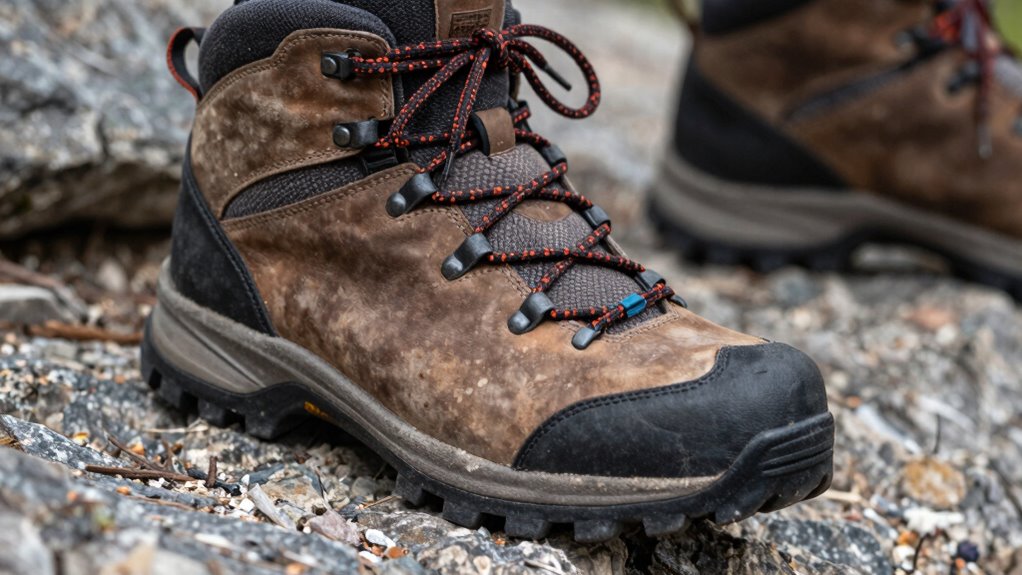
Knowing when to replace or repair your hiking boots is essential to prevent injuries and guarantee peak performance on the trail. Pay attention to the boot material; if it’s cracked, torn, or considerably worn, it’s time for a replacement. The sole durability is another key factor—if the treads are smooth, thin, or separating from the midsole, your boots no longer provide proper grip or support. In some cases, repairs like resoling can extend your boots’ lifespan, but only if the upper structure remains intact. Regularly inspect your boots after each hike, especially in high-wear areas. When repairs aren’t enough or the damage compromises stability and protection, investing in new hiking boots ensures safety and comfort on every descent.
Frequently Asked Questions
How Often Should I Recheck My Boot Fit During Long Hikes?
You should recheck your boot fit regularly during long hikes, especially if you notice discomfort or heel slippage. Check after every few hours or when you change sock thickness, as thicker socks can affect fit. Pay attention to heel slippage and toe space; if your heel slips or toes feel cramped, it’s time to tighten or adjust your laces. Frequent checks help prevent bruised toes and guarantee ideal comfort on the trail.
Can Insoles or Padding Improve Toe Comfort Effectively?
Think of insoles and padding solutions as your foot’s personal bodyguards, ready to shield sensitive toes from pressure and friction. Insole enhancements can add cushioning and support, transforming your boots into a soft landing pad. Padding solutions help fill gaps and alleviate hotspots, giving your toes room to breathe. Together, they can dramatically improve toe comfort, making every step feel like gliding on clouds instead of battling bruised toes on descents.
Are There Specific Brands Known for Better Toe Room?
If you’re looking for brands with better toe box sizing, consider Altra, known for their wider toe boxes that give your toes room to spread naturally. La Sportiva and Scarpa also offer models with generous toe boxes, making them great options for comfort. Comparing brands helps you find the best fit, so try on different models and pay attention to how your toes feel during movement.
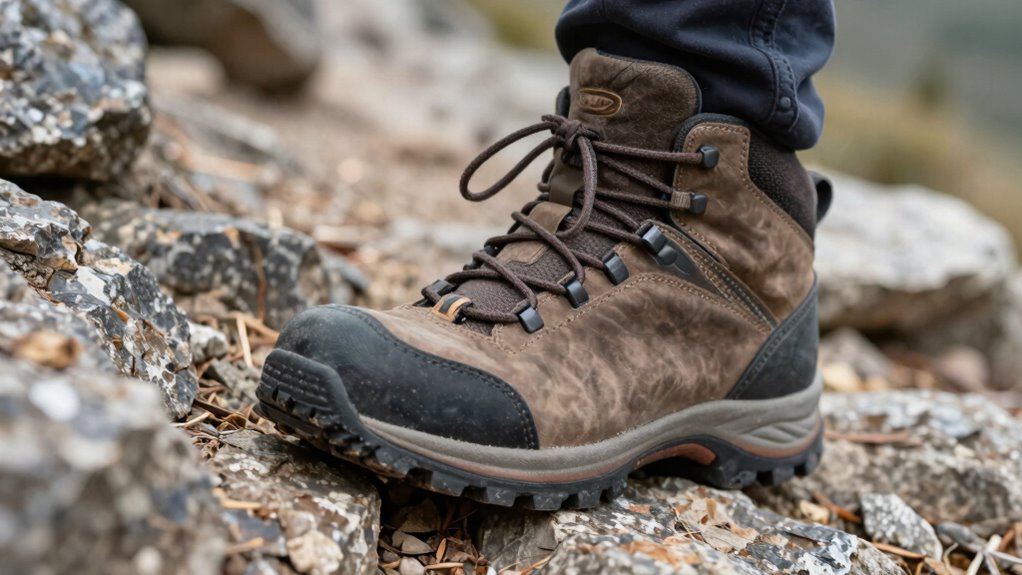
How Do Different Terrain Types Affect Boot Fit Needs?
Imagine hitting uneven terrain and feeling your boots slip or pinch; that’s why terrain types matter. For rocky or steep slopes, you need extra ankle support and waterproof features to stay dry and secure. When trails are muddy or snow-covered, a snug fit prevents blisters and keeps moisture out. Different terrains demand adaptable boots, so choose ones that offer both stability and protection, ensuring comfort on every adventure.
What’s the Best Method to Break in New Hiking Boots?
To break in new hiking boots effectively, start with the breaking in process by wearing them around the house or on short walks. Use fit adjustment techniques like loosening laces around the toes and snugging them near the ankle for better support. Gradually increase your walking distance, ensuring comfort and avoiding hotspots. This method helps mold the boots to your feet, preventing blisters and ensuring a better fit on longer hikes.
Conclusion
Getting your hiking boots just right is the key to avoiding bruised toes on descents. Don’t wait for trouble to knock at your door—take the time to check your fit and make adjustments as needed. Remember, a well-fitted boot can make all the difference between a great hike and a painful one. So don’t let small issues snowball; nip problems in the bud before they turn into bigger headaches.