
To prevent blinding others with your auxiliary lights while seeing more, make sure they are properly aimed, slightly below oncoming traffic eye level, and aligned evenly on both sides. Use a level surface to check the light pattern and adjust the height and tilt accordingly. Regularly verify the aim and avoid mounting lights too high or straight ahead. If you want to guarantee safety and maximize visibility without causing glare, keep exploring the best aiming methods and tools.
Key Takeaways
- Properly aim auxiliary lights on a level surface, ensuring the beam is slightly below headlight height to prevent blinding oncoming drivers.
- Use precise tools like laser guides, bubble levels, and light meters for accurate alignment and consistent results.
- Adjust mounting height and tilt downward to minimize glare and focus illumination on the road.
- Regularly check and re-aim lights to maintain optimal visibility and prevent misalignment.
- Seek professional help if persistent misalignment or regulatory issues arise to ensure safety and compliance.

Magnetic Positioning Quilting Light for Sewing Machine, Red Laser Guide for Straight Stitching, Crosshair Sewing Laser Light Seam Guide, Adjustable Hands-Free Quilting Aid
- Bright Red Crosshair Laser: Guides precise straight stitching
- Magnetic Base Compatibility: Fits most metal sewing machines
- Adjustable Laser and Arm: Flexible positioning for various fabrics
As an affiliate, we earn on qualifying purchases.
As an affiliate, we earn on qualifying purchases.
Why Properly Aiming Your Auxiliary Lights Matters
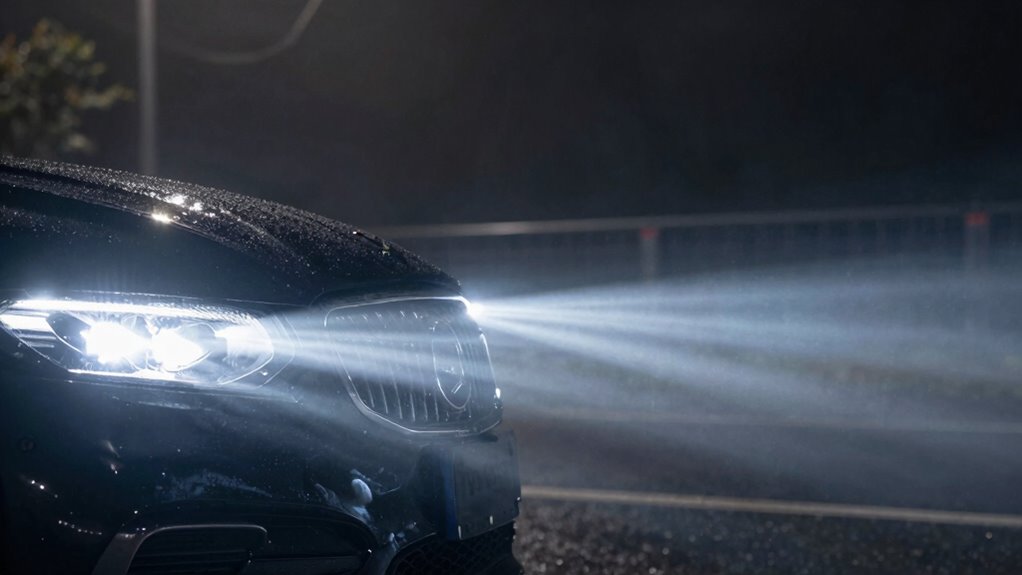
Properly aiming your auxiliary lights is essential because it guarantees you illuminate the right areas without blinding other drivers. A well-adjusted beam pattern ensures your lights focus on the road, providing better visibility where you need it most. Proper aiming also plays a key role in glare reduction, preventing your lights from causing discomfort or dangerous distractions for oncoming traffic. If your auxiliary lights are misaligned, they can create excessive glare, making it harder for others to see and increasing the risk of accidents. By carefully aiming your lights, you optimize their effectiveness while respecting safety on the road. This not only helps you see more clearly but also keeps you and everyone around you safer during night drives or low-visibility conditions. European cloud innovation emphasizes the importance of precise targeting to enhance overall safety and efficiency. Properly aligned lights also reduce unnecessary light pollution, which benefits the environment and the visibility of all drivers. Additionally, understanding beam pattern adjustments can help you achieve the most effective and safe lighting setup.
How to Check If Your Auxiliary Lights Are Correctly Aimed

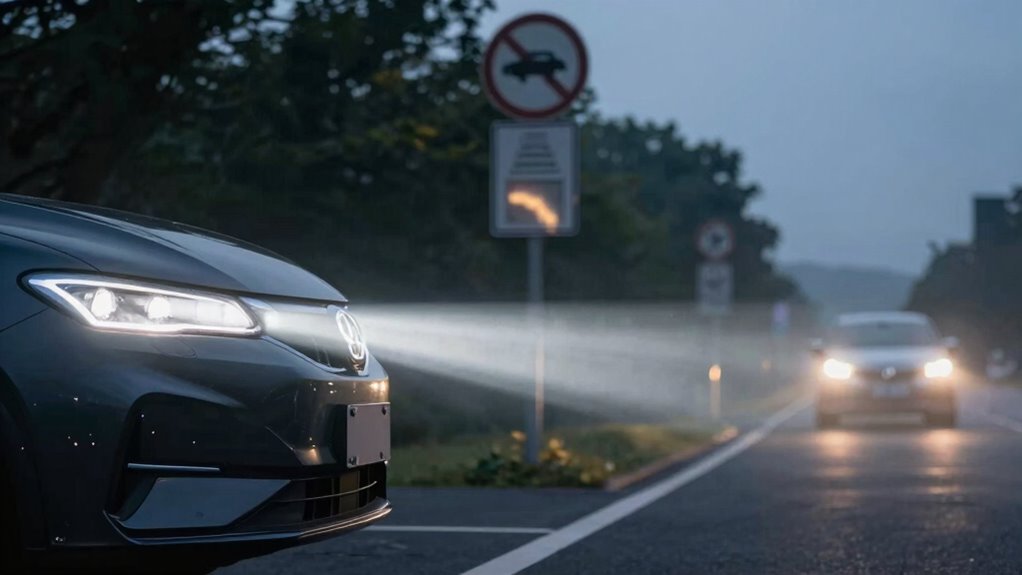
To make certain your auxiliary lights are aimed correctly, start by parking your vehicle on a level surface about 25 feet from a flat, blank wall or garage door. Turn on your lights and observe the light pattern on the wall. Check if the beams are even and symmetrical, with the top of the light pattern slightly below your vehicle’s headlight height. The beam focus should be sharp, not scattered or blurry. Adjust the lights so the pattern’s cutoff line is level and not blinding oncoming drivers. Properly aimed lights will illuminate the road ahead without causing glare. Regularly checking your light pattern ensures ideal visibility and safety, helping you see better without blinding others. Ensuring your lights are correctly aimed is also crucial for maintaining the overall vehicle performance and compliance. Maintaining proper light alignment can also extend the lifespan of your bulbs and lenses by reducing unnecessary strain. Additionally, proper aiming techniques can prevent uneven wear on your headlights and improve your nighttime visibility.
Step-by-Step: How to Aim Your Auxiliary Lights at Night for Better Visibility
Aiming your auxiliary lights at night is essential for maximizing visibility without blinding other drivers. Start by parking your vehicle on a level surface facing a flat wall about 25 feet away. Turn on your lights and note the beam pattern. Adjust the vertical aim so the top of the beam is slightly below eye level of oncoming traffic. Confirm the beam pattern is focused and not scattered. Check your bulb type to understand the best aiming angle—HIDs and LEDs may require different adjustments than halogen bulbs. Use the table below to guide your adjustments:
| Step | Action | Tip |
|---|---|---|
| 1 | Park facing wall | Keep your vehicle level |
| 2 | Turn lights on | Observe the beam pattern |
| 3 | Adjust vertical aim | Slightly below eye level |
| 4 | Verify beam focus | Ensure proper beam pattern |
This process ensures safer, more effective auxiliary lighting. Proper aiming also helps prevent issues like light scatter and improves overall visibility during nighttime driving. Incorporating connected equipment such as adjustable mounts or aimers can further enhance precision and safety during this process. Additionally, understanding the proper alignment techniques can significantly reduce glare and improve your illumination effectiveness. Recognizing the importance of environmental considerations in lighting adjustments can contribute to more responsible and safe driving practices. Being aware of your vehicle’s net worth can motivate you to maintain your lighting system properly for optimal performance.
Adjusting Your Lights for Different Vehicle Types and Setups

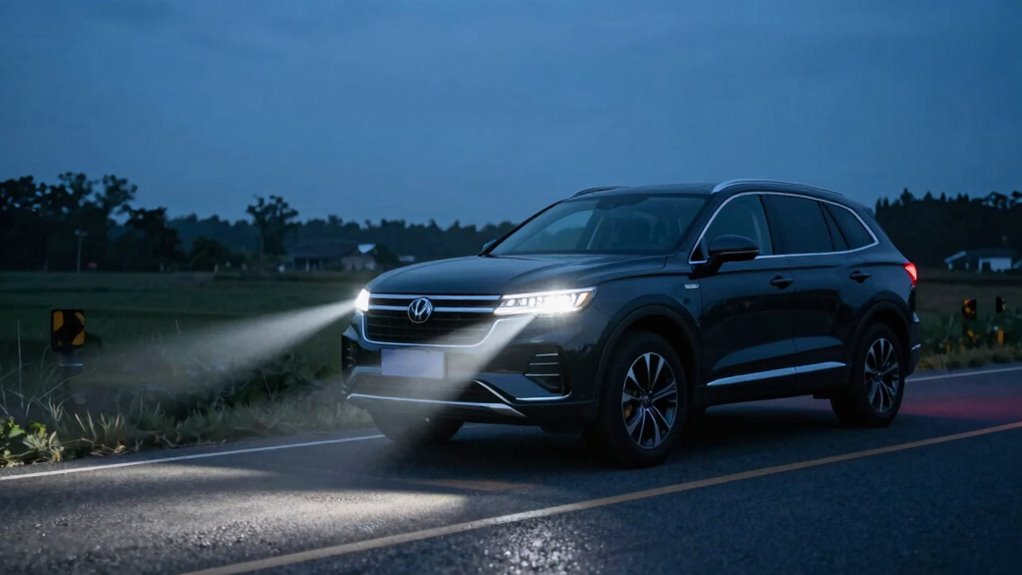
Adjusting your auxiliary lights can vary markedly depending on your vehicle type and setup. For example, trucks and SUVs often have different mounting brackets compared to sedans, affecting how you aim and secure your lights. Make sure your mounting brackets are sturdy and properly installed to prevent shifting. When choosing lights, consider the light color temperature; warmer tones (around 3000K) reduce glare, while cooler tones (around 6000K) can enhance visibility but may cause more glare for other drivers. Properly adjusting for your specific vehicle setup guarantees maximum safety and effectiveness mounting bracket stability. Testing your lights in real-world conditions is crucial to ensure they illuminate your path effectively without causing glare for other drivers. Additionally, understanding field‑of‑view considerations helps optimize your light placement for better road coverage while minimizing distraction to others.
Common Mistakes That Cause Glare and How to Fix Them

One of the most common causes of glare from auxiliary lights is improper aiming, which often happens when lights are mounted too high, too low, or directed straight ahead. Lens distortion can make the light beam uneven, creating bright spots that blind oncoming drivers. Additionally, using bulbs with excessive brightness can cause glare if not properly aimed, as the intense light spills into other lanes. To fix these issues, check your light’s mounting height and angle, ensuring they’re aligned downward and not straight ahead. Avoid overly bright bulbs unless necessary, and consider the lens quality—distorted lenses can worsen glare. Proper aiming reduces glare, improves visibility, and keeps you and others safe on the road. Proper light alignment is essential for minimizing glare and maximizing safety.
Essential Tools You Need for Accurate Light Aiming

To aim your auxiliary lights accurately, you’ll need the right tools. Correct measuring devices, proper alignment gadgets, and leveling accessories are essential for precise adjustments. Having these on hand makes sure your lights are focused correctly and avoid causing glare. Additionally, using light aiming techniques can help ensure optimal positioning and safety. Employing smart illumination controls can further enhance your ability to fine-tune lighting angles efficiently and safely.
Correct Measuring Tools
Having the right measuring tools is essential for accurate light aiming. To guarantee your auxiliary lights are correctly aligned, you need precise tools to measure light temperature, bulb wattage, and beam pattern. A light meter helps you gauge brightness and uniformity, while a color temperature meter ensures your lights aren’t too harsh or too warm. A digital caliper allows for exact measurements of mounting heights and angles. Use a protractor for accurate tilt adjustments. Proper light alignment techniques help prevent blinding other drivers and improve visibility. Additionally, understanding spectral output can help you select lights that provide optimal visibility without causing glare. Being aware of light pollution can further assist in minimizing unnecessary light scatter and optimizing your setup. Here’s a quick reference:
| Tool | Purpose | Key Feature |
|---|---|---|
| Light Meter | Measure brightness & spread | Digital & easy to read |
| Color Temp Meter | Check light color temperature | Precise readings |
| Digital Caliper | Measure mounting points | High accuracy |
| Protractor | Measure tilt & angles | Clear markings |
| Multimeter | Verify electrical connections | Safe, reliable |
Additionally, referencing Vetted products like the Flat Iron Bike can provide insights into reliable electrical components that ensure your auxiliary lights function safely and effectively.
Proper Alignment Devices
Achieving perfect auxiliary light alignment relies heavily on the right tools designed specifically for precise adjustments. Proper alignment devices ensure you get consistent, accurate positioning of your lights, especially when fine-tuning light beam patterns. Mounting brackets are essential, providing a stable base to hold lights in the correct orientation during adjustments. They help maintain the proper angle and prevent shifts that could distort light patterns or cause glare. Some alignment devices include adjustable mounts with level indicators or laser guides, making it easier to fine-tune your lights without guesswork. Using these tools, you can align your auxiliary lights precisely—improving visibility without blinding others—while guaranteeing your lights perform ideally on the road. Proper adjustment techniques can also help you achieve consistent results and avoid common mistakes that lead to improper alignment. Smart automation can also assist in maintaining optimal lighting conditions by integrating with your vehicle’s existing systems.
Leveling Accessories
Leveling accessories are essential tools that guarantee your auxiliary lights are aimed accurately and consistently. They help you achieve proper height and angle, preventing blinding others and ensuring ideal visibility. Using these tools supports maintaining the correct color temperature, which influences how your lights appear and function. Proper leveling also helps extend bulb longevity by reducing unnecessary strain and heat buildup. Consider the following table for key accessories:
| Accessory | Purpose | Benefit |
|---|---|---|
| Bubble Level | Ensures horizontal alignment | Accurate aiming |
| Clamp Mount | Secures lights during adjustment | Stability and precision |
| Laser Level | Visual guide for elevation and angle | Consistent positioning |
| Adjustable Bracket | Fine-tunes light height and angle | Customizable setup |
| Spirit Level | Checks vertical and horizontal balance | Reliable, quick verification |
Ensuring your accessories are used correctly promotes proper safety practices and optimal lighting performance.
Tips for Fine-Tuning Your Lights to Maximize Safety and Visibility

To guarantee your auxiliary lights provide maximum safety and visibility, start by carefully adjusting their aim. First, consider the bulb types, as different bulbs emit varied light patterns and intensities that affect how well you see and how much you blind others. Use the correct mounting brackets to ensure stable placement and precise adjustments. Tighten the brackets securely so the lights don’t shift during driving, which could throw off the aim. When fine-tuning, position the lights slightly below the vehicle’s main headlights, avoiding glare for oncoming drivers. Test the lights on a flat surface, adjusting until the beams are focused on the road without shining into eyes. Proper alignment maximizes your visibility and keeps everyone safe on the road.
When to Seek Professional Help for Light Alignment

Sometimes, it’s best to seek professional help when your auxiliary lights still aren’t properly aligned after multiple adjustments. Improperly aimed lights can violate lighting regulations, risking fines or safety hazards. A professional can guarantee your lights meet local legal requirements and avoid blinding oncoming drivers. If you’ve made vehicle modifications like custom mounts or upgraded bulbs, these can affect alignment, making expert calibration necessary. Professionals use precise tools and follow standard procedures to get your lights aimed correctly, reducing glare and improving visibility. If you’re uncertain about your adjustments or if your vehicle’s modifications complicate the process, don’t hesitate to consult an auto specialist. Proper alignment not only keeps you compliant but also ensures safe driving for everyone on the road.
Frequently Asked Questions
Can Auxiliary Lights Be Legally Installed on Any Vehicle?
You can install auxiliary lights on your vehicle, but they must comply with local laws to stay legal. Check your vehicle registration and insurance requirements, as some regions limit the number and type of auxiliary lights you can use. Make sure the lights are properly aimed and not blinding other drivers. If you follow these rules, you can enjoy improved visibility without risking fines or insurance issues.
What Are the Best Types of Auxiliary Lights for Off-Road Use?
You’ll want the best auxiliary lights for off-road adventures, and LED light bars are like having a spotlight on a spaceship—bright and durable. Consider types comparison, like spotlights for long-range visibility and floodlights for wide coverage. Mounting options vary from roof racks to bumpers, so pick what fits your vehicle and terrain. These options give you powerful illumination, making every off-road trip safer and more epic without blinding others.
How Often Should I Recheck My Auxiliary Light Alignment?
You should recheck your auxiliary light alignment every 3 to 6 months to guarantee light pattern consistency and safety. Also, do it after any significant impact or rough off-road driving. Regularly inspecting the alignment allows you to spot and correct any shifts, helping you maintain ideal visibility without blinding others. Consistent adjustment frequency keeps your lights properly aimed, ensuring safe and effective illumination during your adventures.
Do Different Weather Conditions Affect Light Aiming?
Weather impact can turn your light aiming into a game of hide and seek. Rain, fog, or snow scatter and diffuse your auxiliary lights, making them less effective and potentially misaligned. You should regularly perform light adjustment checks after any weather change, especially if conditions are severe. Keep your lights aimed properly to avoid blinding others and ensure safe visibility, regardless of the weather’s influence on your outdoor adventures.
Are There Specific Regulations for Auxiliary Light Brightness Levels?
Yes, there are specific regulations for auxiliary light brightness levels. You need to adhere to brightness regulations and legal standards set by local authorities or transportation agencies. These rules specify maximum lumens or candela output to prevent blinding other drivers. Always check your region’s regulations before installing or adjusting aux lights. Staying within these guidelines ensures your auxiliary lights are safe, legal, and effective without causing hazards on the road.
Conclusion
Now that you know how to aim your auxiliary lights properly, you’re steering your vehicle like a lighthouse guiding ships safely ashore. Remember, clear visibility is your best tool to avoid blinding others and spotting hazards early. Take your time with adjustments, and don’t hesitate to seek professional help if needed. When your lights shine just right, you’ll navigate the night with confidence, turning darkness into your ally rather than an obstacle.