
To install off-road lights, start by gathering essential tools like a wiring kit, mounting brackets, and a power drill. Disconnect the battery for safety. Choose the right mounting location and drill holes for switch wiring. Secure the relay and fuse near the battery, then connect your wiring harness. Use 14 to 10 gauge wire to handle the current and have an optional switch for independent control. Once everything is connected, reconnect the battery and test the lights. Finally, keep your installation tidy with zip ties. There's plenty more to explore about safety and responsible use that can enhance your experience.
Key Takeaways
- Start by selecting a suitable mounting location and securely attach the lights using mounting brackets.
- Disconnect the vehicle's battery to ensure safety during the installation process.
- Drill necessary holes for switch wiring, utilizing existing factory grommets to maintain integrity.
- Connect the wiring harness to the battery and lights, ensuring all connections are insulated and protected with electrical tape or heat shrink tubing.
- Reconnect the battery, test the lights, and manage wires with zip ties for a tidy installation.
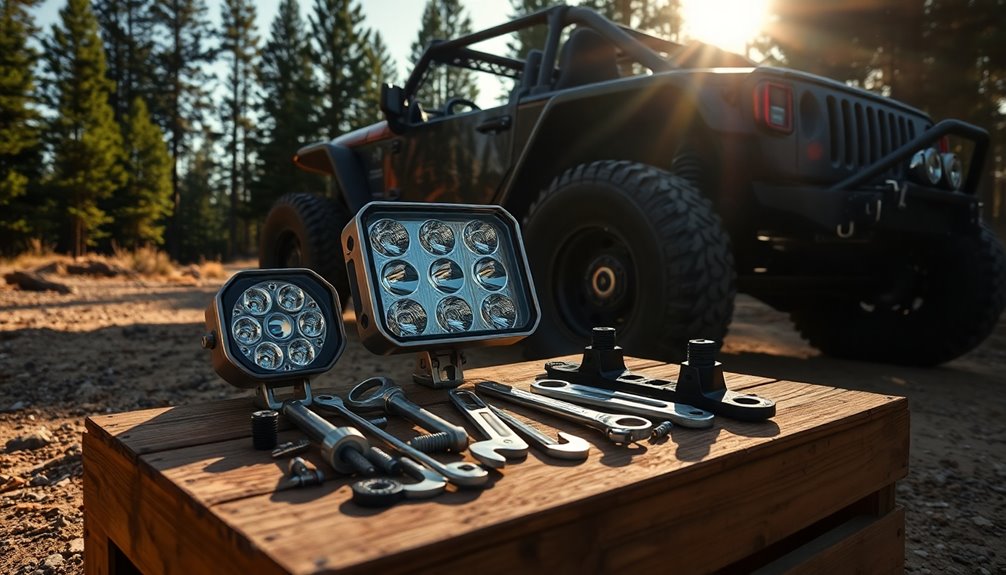
What You Will Need
To get started with installing off-road lights, you'll need a few essential items. First, grab a wiring kit, which typically includes connectors, fuses, and relays necessary for your installation. A 12v DC 30/40 amp automotive relay is vital for controlling your lights safely and efficiently. This relay guarantees that the power flow is managed properly, preventing any overload issues.
Next, you'll want to take into account the power draw of your auxiliary lights. Using 14 to 10 gauge wire is recommended to guarantee proper current flow from your battery. An optional switch can also be included for independent control, giving you flexibility in how you operate your off-road lights.
Don't forget about zip ties, as they'll help you secure the wires neatly and avoid any potential tangles or damage. Additionally, have a power drill and a ratchet with sockets handy, as these tools will assist in mounting the lights securely.
With these items ready, you're well on your way to a successful off-road lighting setup!
Safety Precautions
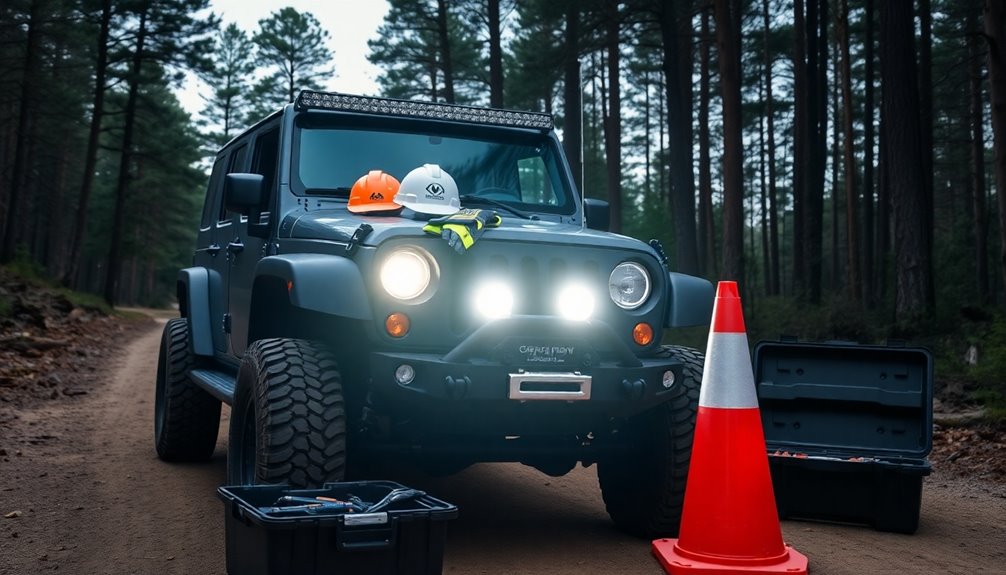
Safety is paramount when installing off-road lights. Before you start, always disconnect the battery to prevent electric shock and avoid short circuits. This step creates a safety net in case anything goes wrong during the installation.
Make certain that all components, including wires and lights, are rated for the intended electrical load. This helps avoid overheating and potential fire hazards.
When you're ready to connect everything, install fuses near the battery. This allows quick access and protects your wiring from overloads and faults. Additionally, use heat shrink tubing on connections to guard against moisture and heat damage. This guarantees your connections remain reliable for years to come.
After you've installed your lights, don't forget to test your lights to confirm everything works properly.
Regularly inspect the installation for wear or damage, and address any issues immediately. This proactive approach is vital for maintaining safety during off-road use.
Installation Steps

After guaranteeing a safe environment for your installation, it's time to get started on mounting your off-road lights.
Begin by measuring and staging the setup to find the best mounting location, guaranteeing easy access for wiring. Once you've determined the spot, disconnect your vehicle's battery to prevent electric shock and eliminate fire risks.
Next, drill a hole for the switch wiring in a convenient location. Run the wires through factory grommets to protect them from sharp metal edges.
Now, mount the relay and fuse close to the battery. This placement helps maintain efficiency and guarantees secure connections to the lights while properly grounding them.
After you've completed the wiring, double-check all connections for security. Manage any loose wires with zip ties to keep everything tidy.
Once everything is secured, reconnect the battery and test your lights for functionality. Make sure they're operating correctly compared to your stock headlights.
If everything looks good, you've successfully installed your off-road lighting!
Wiring Methods and Materials

When wiring your off-road lights, you'll want to focus on the right techniques and materials to guarantee a safe and effective setup.
Start by gathering essential items like the appropriate gauge wire and fuses, then follow safety guidelines to protect your vehicle's electrical system.
This way, you'll not only enhance your lighting but also keep everything running smoothly.
Wiring Techniques Overview
Before diving into the installation of off-road lights, it's crucial to understand the wiring techniques available to you. You have two primary methods: bright activation, where your lights turn on with the high beams, and a separate switch for independent control. Choosing the right method depends on your personal preference and local regulations.
A fundamental component in your wiring setup is the relay. Using a 12v DC 30/40 amp automotive relay helps promote safety and prevents strain on your vehicle's electrical system. Here's a quick reference to some key wiring elements:
| Component | Purpose | Notes |
|---|---|---|
| Relay | Controls high current flow | 12v DC 30/40 amp recommended |
| Ground Wire | Provides a return path | Connect securely to chassis |
| Wire Gauge | Promotes adequate current flow | Use 14 to 10 gauge |
| Fuses | Protects against overloads | 30 amp for main, 10 amp for switch |
| Connectors | Secures connections | Use insulated spade/ring terminals |
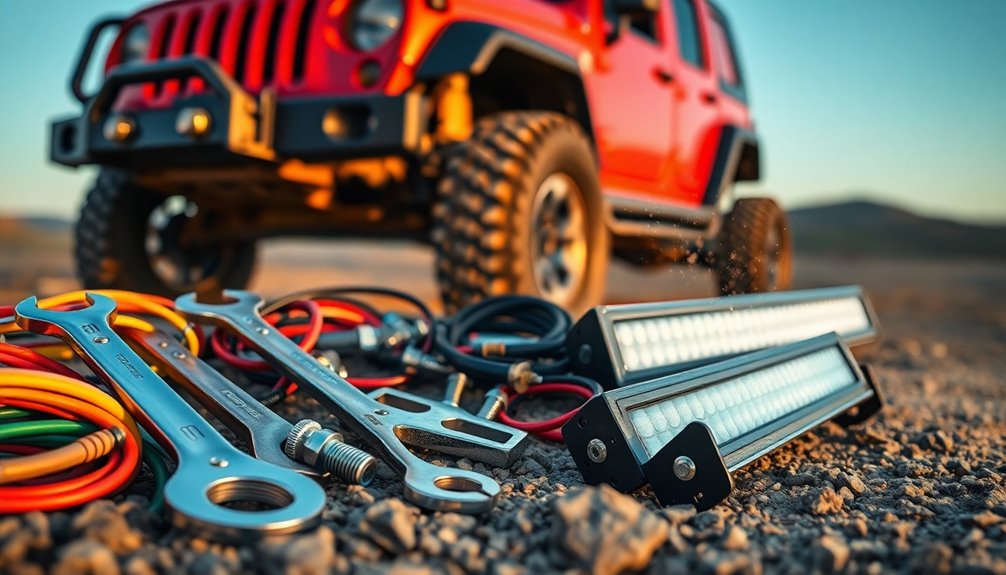
Essential Materials Checklist
To successfully install off-road lights, you'll need a concise checklist of essential materials that guarantees a smooth wiring process.
Start with a wiring kit that includes 14 to 10 gauge wire. This wire is vital for handling the power demands of your lights. You'll also need a relay, specifically a 12v DC 30/40 amp, to manage the electrical load and prevent strain on your factory wiring.
Don't forget a switch for independent control of the lights, along with fuses—30 amp for the main circuit and 10 amp for the switch circuit. Install the main fuse close to the battery for easy access and to protect your circuit from overloads or shorts.
Insulated connectors, like spade connectors and ring terminals, are important for ensuring durability and safe connections.
Lastly, use zip ties for effective wire management. This keeps your installation neat and prevents any loose wires from pinching or overheating during operation.
With this checklist, you'll have everything you need to wire your off-road lights safely and efficiently.
Safety Wiring Guidelines
Properly wiring your off-road lights is essential for both safety and performance. To guarantee a reliable setup, follow these guidelines:
- Use the Right Gauge Wire: Choose 14 to 10 gauge wire based on the power draw of your off-road lights. This guarantees safe and efficient electrical flow.
- Install a Relay: Position a 12v DC 30/40 amp automotive relay close to the battery. This prevents excessive strain on your factory wiring and enhances safety.
- Incorporate Fuses: Add a 30 amp fuse in the main circuit and a 10 amp fuse in the switch circuit. This protects against electrical overloads and shorts.
- Use Quality Connectors: Opt for insulated spade connectors and ring terminals. These durable connections can withstand the rigors of off-road conditions.
Additionally, always follow local laws regarding auxiliary light activation methods, whether using high beams or an independent switch.
Responsible Use of Off-Road Lights

When using off-road lights, it's crucial to prioritize responsibility to guarantee safety for everyone on the road. These road lights are designed to improve visibility in off-road conditions, but improper use can lead to serious consequences.
Always remember that auxiliary off-road lights should only be activated in off-road settings. Using them on public roads can blind other drivers and violate state regulations.
As you navigate through trails or rough terrain, turn off your lights when approaching other vehicles. This simple act helps maintain safe visibility for all drivers.
Be sure to familiarize yourself with local regulations regarding the brightness and placement of your off-road lights, as many states have specific laws governing their use.
Additionally, avoid using off-road lights in foggy or rainy conditions, as they can create glare that hampers visibility instead of enhancing it.
Properly aim your off-road lights to maximize their effectiveness while minimizing the risk of dazzling oncoming traffic or pedestrians.
Community Engagement and Resources

Community engagement plays an essential role in enhancing your knowledge and skills related to off-road light installation. By connecting with fellow enthusiasts, you can gain valuable insights that improve your DIY installation techniques.
Here are some ways to engage with the community:
- Participate in Community Events: Workshops and meet-ups offer hands-on experience, allowing you to learn from others while sharing your own installation tips.
- Join Online Forums: Social media platforms and forums are great places to ask questions, share experiences, and receive feedback on your projects.
- Access Video Tutorials: Educational resources like video tutorials provide step-by-step guidance, making it easier to troubleshoot common issues with off-road lights.
- Contribute to Knowledge Sharing: By sharing your personal projects and feedback on installation guides, you foster collaboration within the community, helping others improve their skills.
Engaging with the off-road community not only enriches your understanding of off-road lights but also builds a network of support.
Frequently Asked Questions
How to Wire up Offroad Lights?
Wiring up off-road lights starts with disconnecting the battery to avoid electrical shorts.
Use a relay harness that matches your vehicle's headlight configuration for direct power access.
Connect the switch to the ignition to control the lights without affecting your vehicle's system.
Make sure to attach the ground wire securely to a dedicated point.
Finally, double-check all connections for security and functionality before reconnecting the battery and testing your new lights.
What States Require Off-Road Lights to Be Covered?
If you're planning to use off-road lights, it's essential to know which states require them to be covered on public roads.
States like California, New York, and Florida have strict regulations to prevent blinding other drivers.
Michigan also mandates covering off-road lights unless you're off-roading.
While states like Texas and Colorado don't have specific laws, it's wise to check local ordinances to avoid fines and guarantee you comply with safety regulations.
Do You Need a Relay for LED Off-Road Lights?
Yes, you need a relay for LED off-road lights.
It helps deliver direct power from the battery, minimizing strain on your vehicle's factory wiring. This prevents potential electrical damage and guarantees safe operation without overloading the system.
A 12v DC 30/40 amp automotive relay is ideal, as it can handle the high current draw.
Why Do People Use Yellow Offroad Lights?
Imagine cutting through a thick fog with a warm golden glow lighting your path. That's why you might choose yellow off-road lights.
They penetrate mist and dust better than white lights, reducing glare and enhancing contrast. You'll see obstacles more clearly, making your night drives safer.
Plus, yellow light is gentler on your eyes, reducing strain during long journeys. It also boosts your vehicle's visibility to others, minimizing the risk of collisions on rugged trails.
Conclusion
To sum up, installing off-road lights not only enhances your vehicle's visibility but also transforms your nighttime adventures into safe excursions. By following the outlined steps and prioritizing safety, you're not just adding a feature; you're embracing a new level of exploration. So, why limit yourself to the daylight? Equip your ride, respect the environment, and illuminate the path ahead—because every journey deserves to shine, even in the darkest of nights.