
If your Honda won’t start, begin by inspecting the battery, terminals, and fuses to make certain proper electrical flow. Test the starter motor and ignition switch with a multimeter for continuity, and verify the spark plugs and fuel system are functioning correctly. Address any signs of wiring damage or component failure promptly. Following this systematic approach narrows down the cause quickly. Keep going, and you’ll discover detailed steps to troubleshoot each component thoroughly.
Key Takeaways
- Verify the battery’s health, connections, and fuse integrity before inspecting the starting system.
- Check the ignition switch continuity and test the starter circuit for proper operation.
- Inspect spark plugs, fuel pressure, and fuel lines to identify potential ignition or fuel delivery issues.
- Confirm wiring, relays, and fuses are functioning correctly to ensure power reaches essential components.
- Perform regular maintenance on the fuel system and electrical connections to prevent recurring starting problems.
Amazon Product B01MG5UXV4
As an affiliate, we earn on qualifying purchases.
Start by Checking Your Honda’s Battery and Connections

Since a weak or dead battery is a common cause of starting issues, it’s essential to begin your diagnosis by inspecting your Honda’s battery and its connections. First, verify the battery terminals for corrosion, dirt, or looseness. Ensure the terminal clamps are tightly secured to prevent poor conductivity. Use a multimeter to measure the battery voltage; a healthy, fully charged battery should read around 12.6 volts or higher. If the voltage is below 12.4 volts, consider charging or replacing the battery. Inspect the wiring harness for frayed or damaged cables that could impede electrical flow. Confirm that the battery is seated correctly in its tray and that all grounding points are secure. Proper connection and voltage levels are critical for reliable engine startup.
Amazon Product B0CFR1H4D7
As an affiliate, we earn on qualifying purchases.
Are Your Fuses and Relays in Good Shape?

After confirming your battery’s condition and ensuring all connections are secure, the next step is to examine your Honda’s fuses and relays. Remove the fuse box cover and inspect each fuse visually for signs of corrosion, discoloration, or a blown filament. Use a multimeter set to continuity mode to verify intact fuses; replace any that fail the test. For relays, listen for a clicking sound when toggling the ignition, indicating proper operation. If a relay appears damaged or fails to click, swap it with a known good relay of the same type for testing. Ensuring all fuses and relays are functional is essential, as faulty components can interrupt power flow to vital starting circuits, leading to starting issues. Additionally, understanding the electrical system of your Honda can help diagnose complex problems more effectively. Recognizing how electrical components interact within your vehicle’s system can provide deeper insights into potential faults. Incorporating knowledge about body piercing materials and measurements can also assist in troubleshooting if you’re considering modifications or repairs related to piercings.
Amazon Product B08KF88G32
As an affiliate, we earn on qualifying purchases.
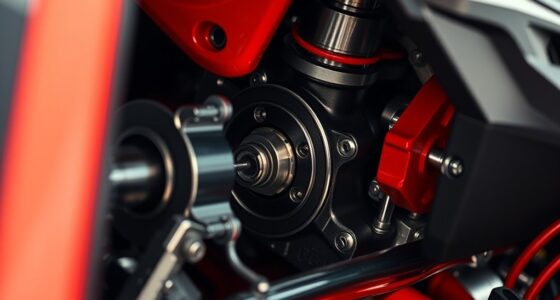
How to Test the Starter Motor and Ignition Switch
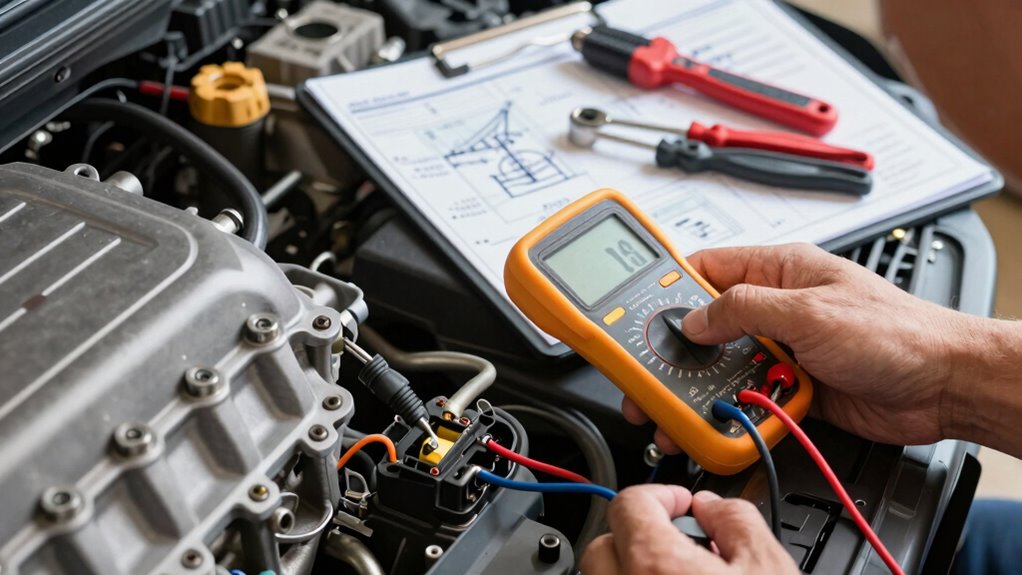
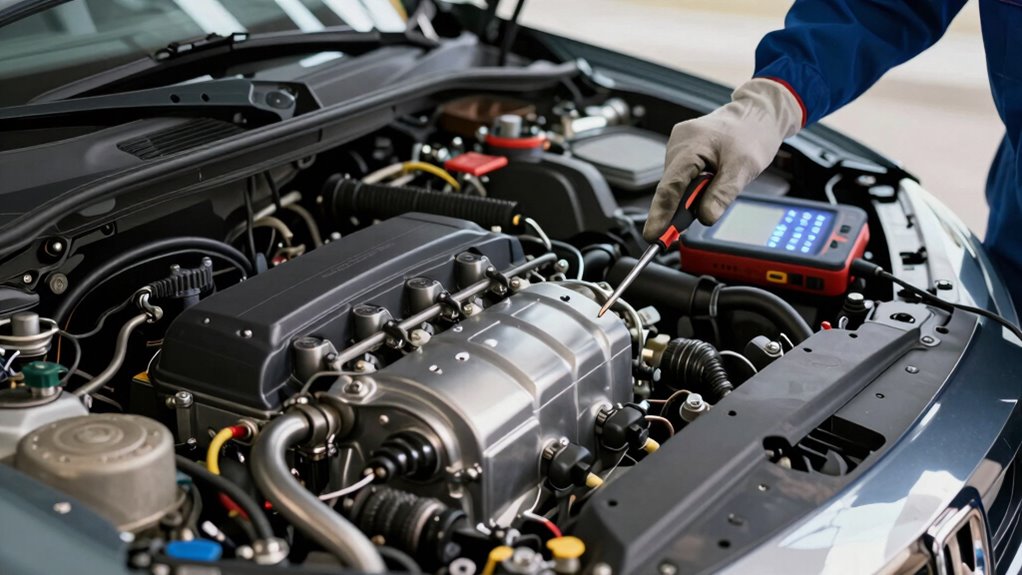
To diagnose starting issues, you need to verify the integrity of the starter circuit and the ignition switch. This involves checking for voltage at the starter relay and inspecting the switch’s mechanical and electrical connections. Accurate testing guarantees you identify whether the problem stems from the circuit or the ignition switch itself. Implementing energy-efficient methods can improve overall vehicle diagnostics and promote sustainable practices. Additionally, understanding the wiring basics can help ensure all connections are correctly established and safe. Knowing the electrical system can also assist in troubleshooting and prevent potential hazards. Incorporating smart diagnostic tools can further enhance accuracy and efficiency in identifying electrical faults, especially as modern vehicles increasingly rely on connected systems for comprehensive diagnostics.
Testing the Starter Circuit
When testing the starter circuit, you need to verify both the starter motor and the ignition switch for proper operation. First, confirm the battery is fully charged and connections are clean. Then, follow these steps:
- Use a multimeter to check voltage at the starter solenoid terminal while attempting to start; a lack of voltage indicates a wiring or switch issue.
- Bypass the ignition switch by connecting the battery directly to the starter solenoid terminal, observing if the starter engages.
- Test the ignition switch itself by checking continuity across its terminals when turned to the “start” position; inconsistent readings suggest replacement is necessary.
This method isolates each component, confirming their functionality before proceeding.
Inspecting the Ignition Switch
Begin by verifying the ignition switch’s continuity to guarantee it properly sends voltage to the starter circuit when turned to the “start” position. Disconnect the ignition switch connector from the wiring harness, then set your multimeter to the continuity setting. Place the probes on the terminal corresponding to the “start” position and the switch’s common terminal. Turn the ignition switch to the “start” position; a successful test shows continuity. If no continuity is detected, the switch is faulty and requires replacement. Make sure the ignition key is fully turned to the “start” position during testing. Confirm that the wiring and connections are intact before replacing the switch. This step ensures the switch properly completes the circuit, enabling voltage flow to the starter solenoid.
Amazon Product B0CY45SGN3
As an affiliate, we earn on qualifying purchases.
Could the Problem Be Your Spark Plug or Fuel System?

You should inspect your spark plugs for signs of wear, fouling, or damage, as these can prevent proper ignition. Equally important is verifying the fuel system‘s integrity, including fuel delivery and pressure, to guarantee the engine receives the correct mixture. Addressing issues in either component can resolve starting problems effectively. Additionally, employing a systematic testing process can help identify underlying problems more efficiently. Ensuring that your fuel system components are functioning properly can prevent many starting issues related to fuel delivery, and understanding the role of diagnostic flow helps streamline troubleshooting steps. Regularly inspecting engine sensors can also play a critical role in diagnosing starting difficulties.
Spark Plug Condition
Could a faulty spark plug be causing starting issues? Inspecting its condition is crucial. A worn or fouled spark plug can prevent proper ignition, leading to hard starts or failure to start. Visualize these signs:
- Carbon deposits coating the electrode, indicating rich fuel mixture or incomplete combustion.
- Electrode erosion or rounded tips, reducing the spark’s intensity.
- Cracks or corrosion on the ceramic insulator, risking misfires.
Regularly checking the spark plug’s condition helps maintain optimal engine performance and reliability. Use a spark plug gap gauge to verify proper clearance and look for discoloration or deposits. If the plug appears damaged or excessively fouled, replace it with a manufacturer-recommended part. Ensuring the spark plug’s integrity directly impacts engine starting reliability, making it a vital step in diagnostic flow.
Fuel System Integrity
A compromised fuel system can mimic or contribute to starting issues, making it vital to verify its integrity before considering other components. Begin by checking fuel pressure using a gauge to ensure it meets manufacturer specifications. Low pressure indicates a failing fuel pump, clogged fuel filter, or obstructed fuel injectors. Inspect the fuel lines for leaks, cracks, or blockages, which can disrupt fuel delivery. Confirm that the fuel injectors are operating correctly, listening for their clicking sound when the ignition is turned on. Additionally, verify the fuel quality; contaminated or old fuel can cause inconsistent combustion. Ensuring proper fuel flow and pressure is essential, as deficiencies here can prevent the engine from starting or cause rough idling. Proper filtration and pump protection can prevent debris from clogging injectors and filters, maintaining consistent fuel flow. Regularly inspecting and maintaining the fuel system components can help prevent these issues from occurring. Addressing these issues systematically can resolve many starting problems related to the fuel system.
When Should You Call a Mechanic? Signs You Need Help
Recognizing the signs that indicate a mechanic’s intervention is necessary can prevent further damage and costly repairs. If you notice persistent or worsening issues, it’s time to seek professional help.
Identifying when to see a mechanic helps prevent costly repairs and extensive engine damage.
Signs include:
- The engine cranks but fails to start after multiple attempts, indicating potential fuel or electrical faults.
- Unusual noises during startup, such as grinding or clicking, suggesting starter or solenoid problems.
- The vehicle stalls immediately after starting or exhibits inconsistent performance, hinting at fuel delivery or sensor malfunctions.
These symptoms often point to underlying issues that require specialized diagnostic tools and expertise. Ignoring these signs can lead to more extensive engine damage or compromised safety, making timely professional diagnosis essential.
Tips to Prevent Future Starting Issues

Proactively maintaining your vehicle’s battery, fuel system, and ignition components can substantially reduce the likelihood of starting issues. Regularly inspect and clean battery terminals to prevent corrosion, ensuring ideal electrical contact. Use quality fuel additives to keep the fuel system free of deposits and maintain proper fuel pressure. Check ignition components such as spark plugs and coils for wear, replacing them based on manufacturer specifications. Implement the following maintenance schedule:
| Maintenance Task | Frequency |
|---|---|
| Battery terminal inspection | Every 6 months |
| Fuel system cleaning | Annually |
| Spark plug replacement | Every 30,000 miles |
Consistently following these practices and understanding vehicle diagnostics can help you identify potential issues early, minimizing the risk of unexpected starting failures and enhancing overall vehicle reliability. Regularly consulting vehicle maintenance tips can further optimize your vehicle’s performance and longevity. Additionally, integrating smart diagnostic tools can provide real-time insights and early alerts to prevent starting problems before they occur. Incorporating preventive maintenance practices into your routine can also significantly extend your vehicle’s lifespan and reliability.
Frequently Asked Questions
What Are the Common Signs of a Failing Honda Starter?
You’ll notice your Honda’s starter failing if it makes a grinding noise when starting, struggles to engage, or if the engine doesn’t turn over at all. You may also experience a clicking sound without engine cranking. Battery issues can mimic these signs, but persistent starter problems often point to worn brushes, solenoid failure, or damaged gear teeth. Regular inspections can help catch these signs early and prevent breakdowns.
How Do Temperature and Weather Affect Starting Issues?
Seventy-five percent of starting issues are influenced by temperature and weather conditions. Cold weather thickens engine oil and battery chemicals, reducing electrical flow and making it harder to start your Honda. Conversely, high temperatures can cause battery fluid evaporation, decreasing overall charge capacity. You notice difficulty starting your vehicle during extreme weather; this is due to these environmental factors affecting battery performance and engine components, requiring specific diagnostic attention.
Can Aftermarket Modifications Cause Starting Problems?
Yes, aftermarket modifications can cause starting problems by disrupting the factory fuel and ignition systems. Installing non-compatible parts, such as aftermarket ECUs, exhaust systems, or ignition components, may lead to improper fuel mixture, voltage irregularities, or sensor malfunctions. These issues can prevent proper engine startup or cause intermittent starting failures. Always verify modifications are compatible with your vehicle’s specifications and have them installed professionally to minimize potential starting issues.
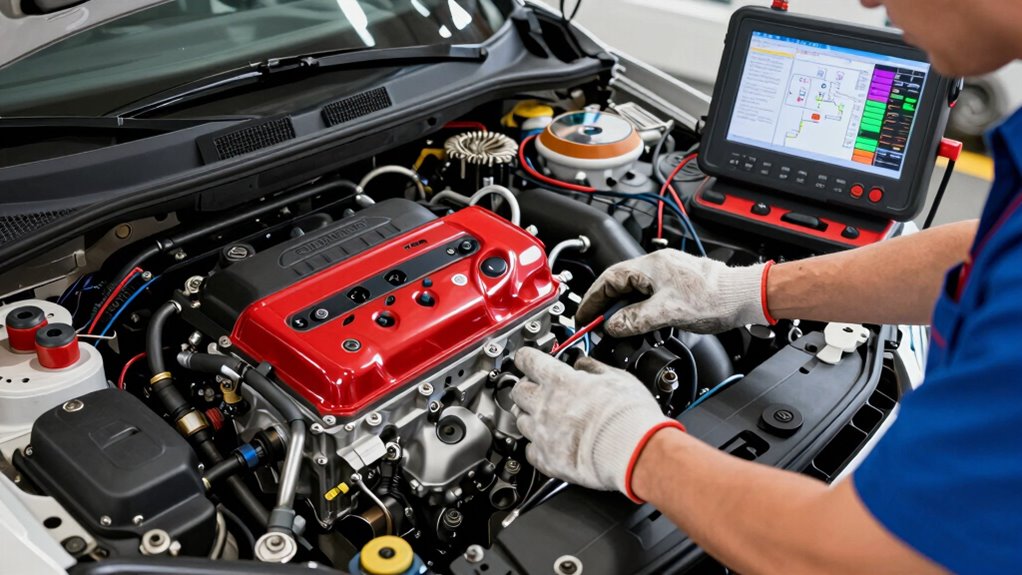
What Diagnostic Tools Are Recommended for Honda Starting Issues?
You should use a scan tool compatible with Honda systems to read diagnostic trouble codes, which helps identify electrical or sensor faults. A digital multimeter is essential for testing battery voltage, starter relay, and fuse integrity. An oscilloscope can diagnose sensor signals and ignition system performance. Additionally, a pressure tester confirms fuel system pressure. These tools enable precise diagnostics, quickly pinpointing the cause of starting issues for efficient repairs.
How Often Should I Perform Maintenance to Prevent Starting Problems?
Like a well-tuned orchestra, your Honda needs regular maintenance to perform reliably. You should perform routine checks every 5,000 to 7,500 miles, including oil changes, battery testing, and inspecting the fuel system. Regularly replacing spark plugs and air filters also prevents starting issues. Consistent maintenance guarantees all components work harmoniously, reducing the risk of unexpected starting problems and extending your vehicle’s lifespan.
Conclusion
By systematically checking your battery, fuses, starter, and fuel system, you often uncover the cause of starting issues before they escalate. Coincidentally, addressing these components early can prevent costly repairs and prevent unexpected breakdowns, giving you peace of mind on the road. Staying proactive with regular maintenance guarantees your Honda remains dependable, so you can focus on your journey—without the anxiety of unexplained starting problems.