
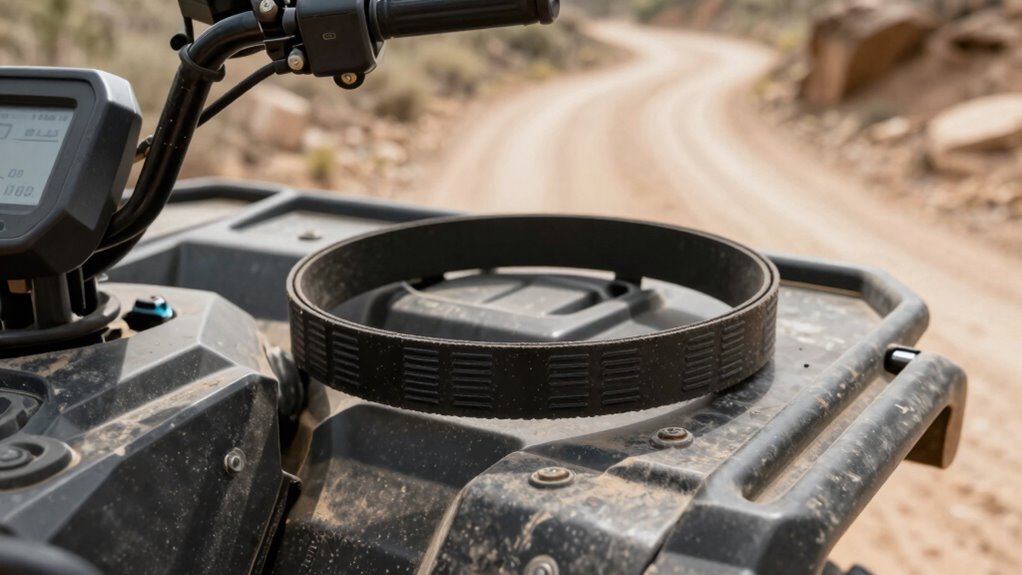
The first 20 miles of your UTV belt are essential because they establish proper seating, tension, and bedding-in, which affect long-term performance and durability. During this break-in phase, you should follow appropriate tension adjustment techniques, accelerate gradually, and avoid aggressive riding. Properly bedding in your belt minimizes slipping, uneven wear, and early failure. If you want to guarantee your belt lasts longer and performs better, understanding this vital process can make all the difference.
Key Takeaways
- The first 20 miles are critical for proper belt bedding-in, affecting long-term performance and durability.
- Maintaining correct tension and rechecking regularly prevents premature wear and slippage during break-in.
- Gentle acceleration and avoiding aggressive throttle improve belt seating and internal material adaptation.
- Signs of proper break-in include no slipping or squealing and minimal heat buildup.
- Proper break-in ensures optimal grip, flexibility, and extends belt lifespan, reducing future maintenance.
HOOTO Golf Cart Seat Belts(4 Pack), Universal Golf Cart Seat Belt Kit for Yamaha Club Car EZGO Go-Kart ATV UTV, 42" Retractable Club Car Seat Belts (Without Mounting Bar)
Wide Application: These golf cart seat belts are compatible with most golf carts, including EZGO TXT, RXV, Yamaha,…
As an affiliate, we earn on qualifying purchases.
As an affiliate, we earn on qualifying purchases.
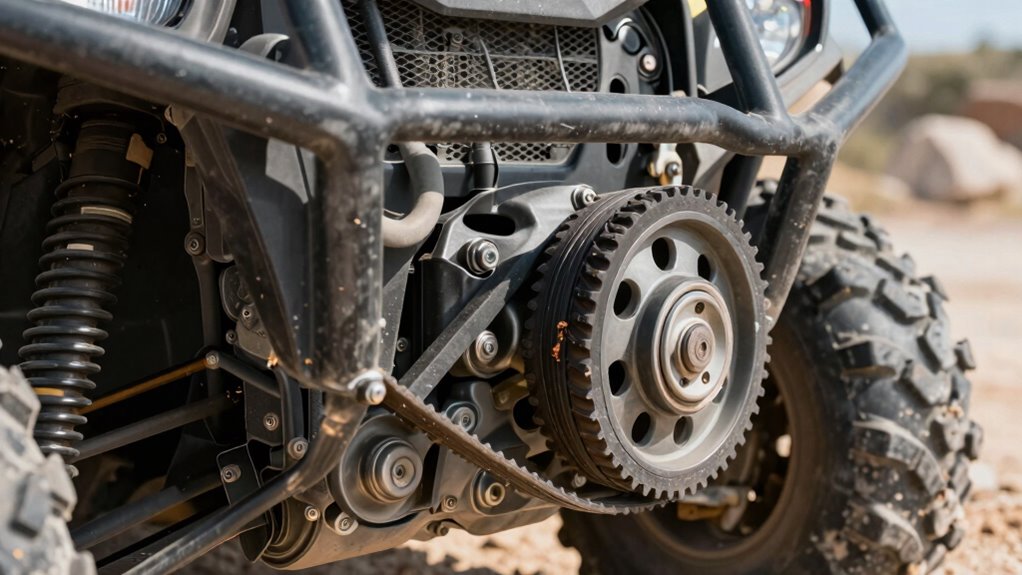
Why the First 20 Miles Matter When Breaking in Your UTV Belt
The first 20 miles are essential because they set the stage for your UTV belt’s long-term performance. During this break-in period, pay close attention to the belt material, as it needs to seat properly for peak operation. Proper tension adjustment is critical; if the belt is too tight, it can cause premature wear and strain, while too loose can lead to slipping. As you drive, check the tension regularly and make small adjustments if necessary. This initial phase helps the belt adapt to your riding style and conditions, ensuring better grip and durability down the line. Additionally, understanding the navigation and mapping of your UTV can help you choose appropriate routes during break-in to avoid unnecessary stress on the belt. Paying attention to proper break-in procedures is crucial for optimal performance and longevity. breaking in the belt is crucial for optimal performance and longevity. Skipping this step or rushing the process can result in reduced lifespan and potential failures. Take your time during these first 20 miles to maximize your belt’s performance and prevent early wear.

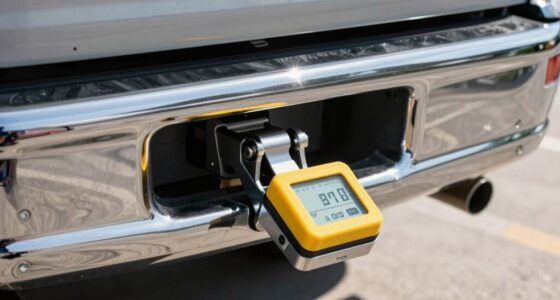
Belt Tension In Gauge, Belt Gauge Tool, Adjustable 10 Pounds, with L Shaped Pad, Motorcycle Belt Tension Tool
【Fast And Accurate Hitting Measurements】: Our belt tension gauges are clearly marked with easy to read markings to…
As an affiliate, we earn on qualifying purchases.
As an affiliate, we earn on qualifying purchases.
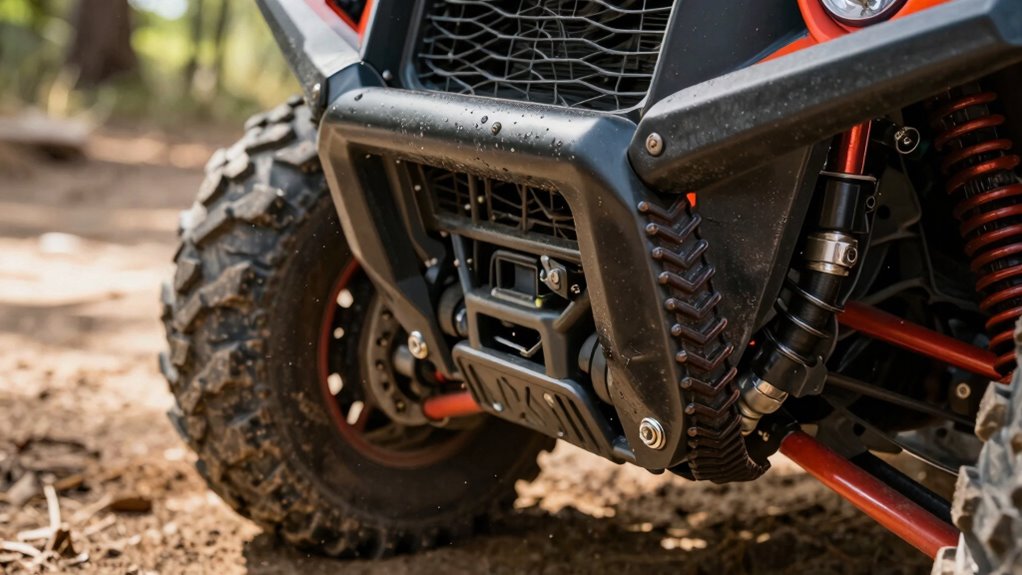
What Happens During Belt Break-In and Why It’s Important
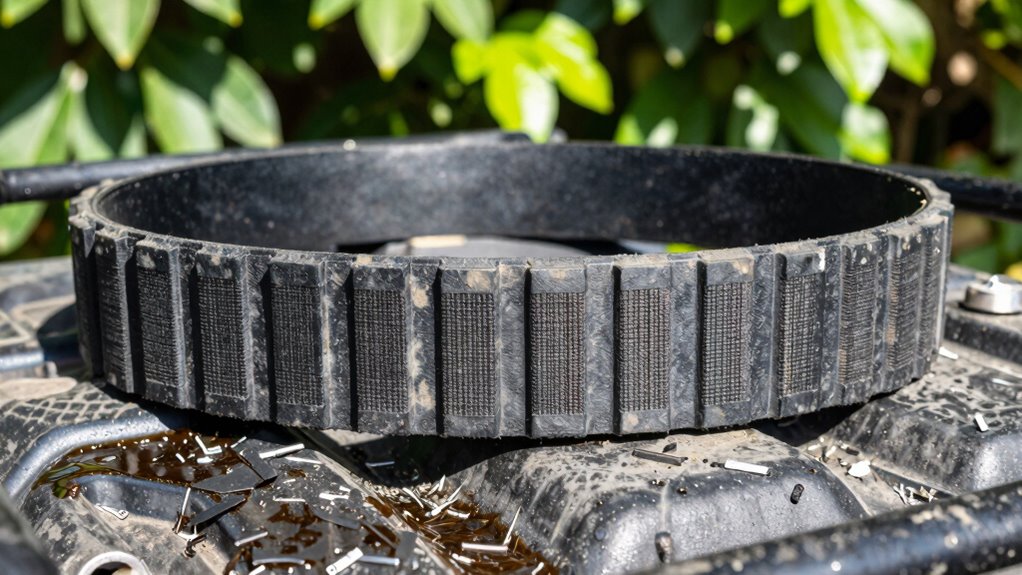
During belt break-in, the belt material gets conditioned to your UTV’s operating conditions, guaranteeing better grip and durability. Proper tension adjustment is also vital so the belt doesn’t slip or wear unevenly during this process. Understanding what happens now helps you make sure your belt performs reliably for miles to come. Proper tension is crucial for optimal performance and longevity. Additionally, allowing the belt to break in gradually helps prevent premature belt wear and extends its overall lifespan. Ensuring the initial break-in process is correctly followed can significantly influence the belt’s long-term reliability and efficiency, especially when considering the importance of load distribution during this critical phase. Properly managing belt tension during break-in helps distribute forces evenly and enhances overall belt performance.
Belt Material Conditioning
Belt material conditioning occurs as the new belt gradually adapts to your UTV’s specific operating conditions. During this process, the belt’s surface and internal structure adjust, guaranteeing ideal performance. Proper belt conditioning enhances longevity and reduces slipping. To support this, confirm gear lubrication is adequate to prevent overheating, and check belt alignment to avoid uneven wear. Additionally, ensuring your smart maintenance systems are active can help monitor belt health and detect early signs of wear.
Key points to focus on:
- Gentle acceleration helps the belt settle smoothly.
- Avoid sudden or aggressive throttle inputs.
- Maintain proper gear lubrication to reduce friction.
- Consistently verify belt alignment for even contact.
These steps promote even belt break-in and prevent premature deterioration, setting the foundation for reliable UTV operation.
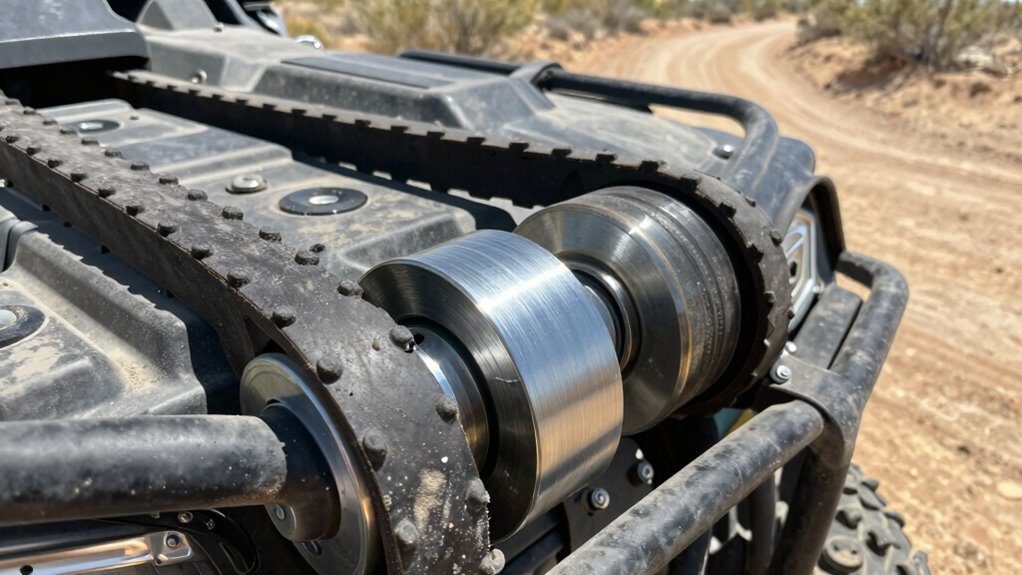
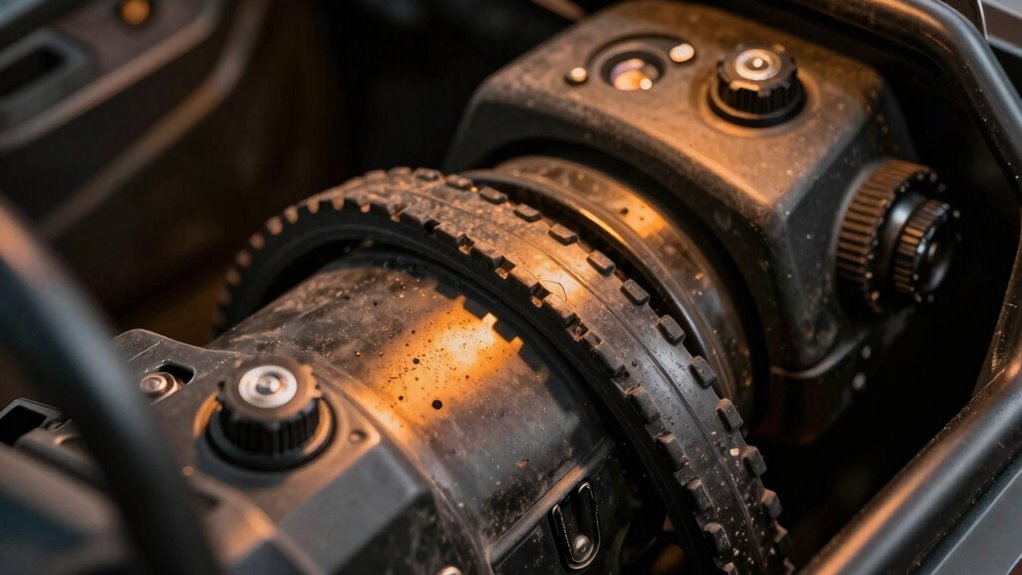
Proper Tension Adjustment
As your UTV’s belt begins to adapt through proper conditioning, adjusting the tension correctly becomes essential to guarantee smooth operation. Proper tension adjustment ensures the belt maintains ideal contact with pulleys, preventing slipping or excessive wear. Start by checking the manufacturer’s recommended tension, usually indicated by deflection measurements or a specific tension gauge. Be sure to also verify belt alignment; misalignment can cause uneven wear and early failure. When adjusting, loosen the mounting bolts, set the tension, then tighten everything securely, ensuring the belt runs straight and true. Correct tension not only improves efficiency but also extends the belt’s lifespan. Regularly recheck tension during the break-in period, as the belt will settle and align properly with continued use. [Maintaining proper belt tension] is crucial for optimal performance and longevity. Additionally, inspecting the belt for any signs of damage during this period can prevent unexpected breakdowns.

UNIGT Belt Changing Tool with Clutch Cover Removal Tool Kit Compatible with Polaris RZR 800 900 S 1000 XP XP4 General 1000 – Combo Package
Belt changing tool help RZR owner to change a belt, the clutch tool can help you easy to…
As an affiliate, we earn on qualifying purchases.
As an affiliate, we earn on qualifying purchases.
Preparing Your UTV for Proper Belt Break-In
Before breaking in your UTV’s new belt, it’s vital to prepare both the machine and yourself to guarantee a smooth process. Start by inspecting the belt material—ensure it’s compatible with your UTV model and designed for proper break-in. Next, check the tension adjustment; a correct tension prevents slipping or premature wear. Also, familiarize yourself with the manufacturer’s recommendations for break-in procedures. Ultimately, plan a safe, open area for initial rides, avoiding aggressive maneuvers.
Here are four steps to prepare:
- Verify belt material suitability.
- Adjust tension to the recommended specifications.
- Read the manufacturer’s break-in guidelines.
- Choose a controlled environment for early rides.
Proper preparation optimizes belt performance and longevity from the very first miles.

KEMIMOTO UTV Roll Cage Storage Bag Universal 1680D Grab Handle Storage Bag Dimensions 11" x 5" Side by Side Accessories Compatible with UTV, ATV, Golf Cart, Bike, Off-road Vehicle
Extra Storage Space: Multiple storage compartments provide a good place for items such as smartphones, keys, wallets, headphones,…
As an affiliate, we earn on qualifying purchases.
As an affiliate, we earn on qualifying purchases.
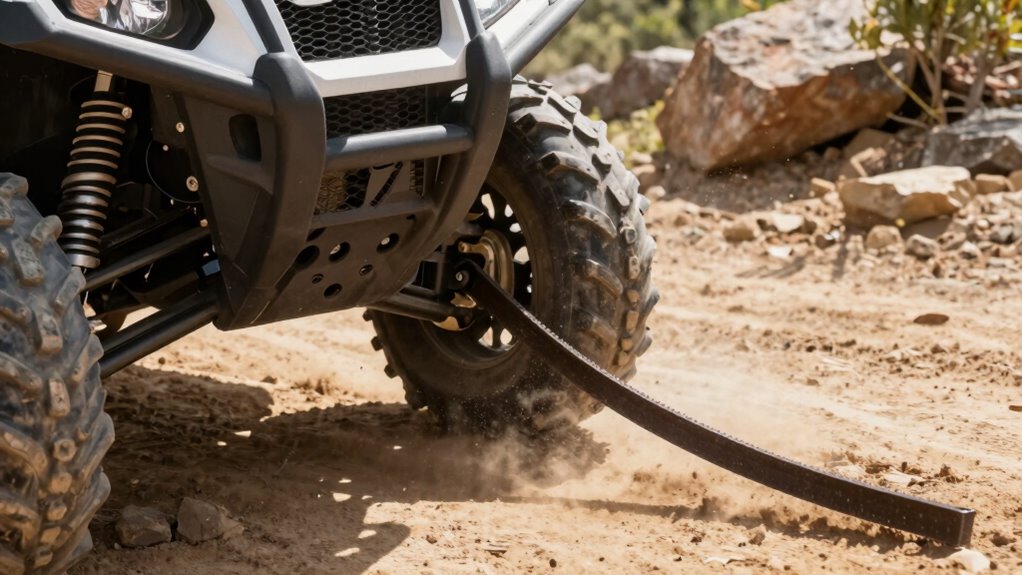
How to Break in Your UTV Belt : A Step-by-Step Guide
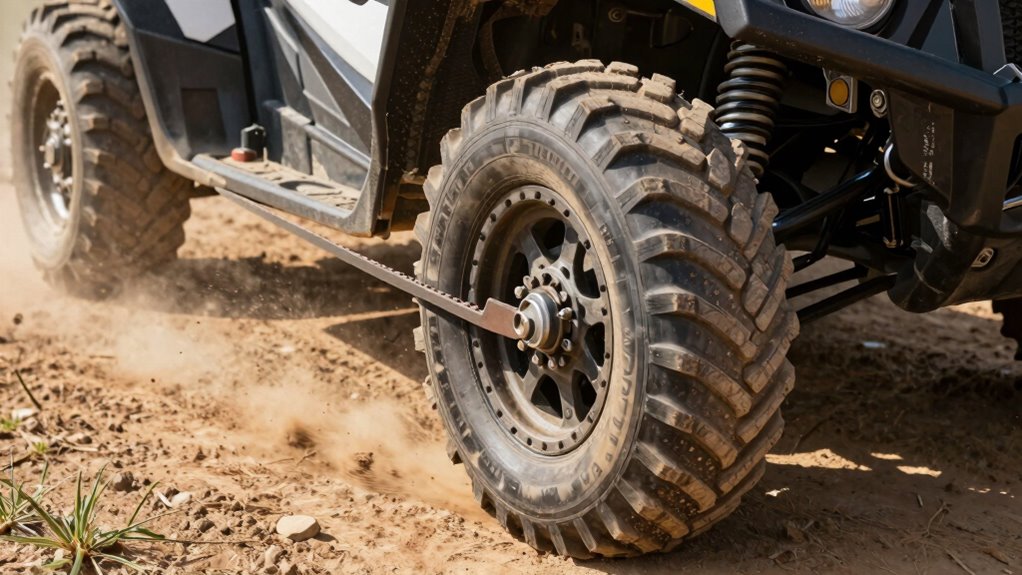
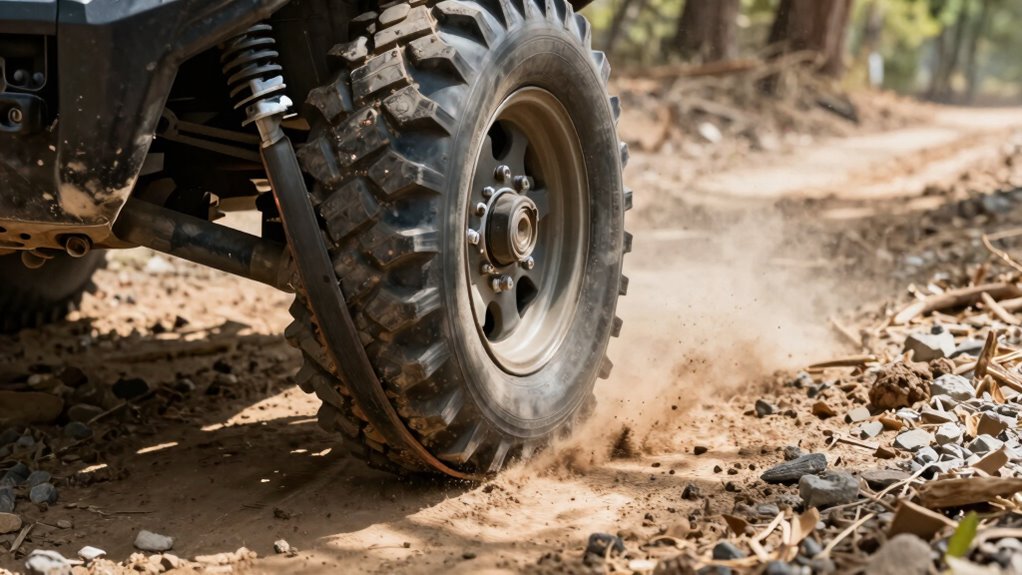
Starting your UTV belt break-in correctly sets the stage for ideal performance and durability. Begin by gently accelerating to allow the belt to seat properly, avoiding full throttle for the first 20 miles. Maintain consistent belt tension—too tight causes excessive material wear, while too loose risks slipping. During break-in, vary your speeds to promote even belt bedding and reduce uneven wear. Regularly check belt tension after each ride to ensure it remains *best*. Proper break-in techniques are essential for modern equipment longevity, ensuring your UTV operates reliably for years to come. Here’s a quick reference:
| Step | Action | Focus |
|---|---|---|
| 1 | Gently accelerate | Seat the belt evenly |
| 2 | Vary your speeds | Minimize uneven material wear |
| 3 | Monitor belt tension | Prevent slippage and wear |
| 4 | Avoid full throttle | Reduce heat and stress |
| 5 | Check tension periodically | Maintain *best* belt tension |
A crucial part of the break-in process is allowing the belt to properly bed in the pulleys, which can be influenced by correct tensioning methods, helping to ensure optimal belt seating and performance.
Common Mistakes to Avoid During Belt Break-In
One common mistake is over-tightening the belt, which can cause premature wear or damage. Skipping the proper break-in period might lead to reduced belt lifespan and performance issues. To guarantee the best results, follow the recommended tension and break-in steps carefully. Additionally, choosing a supportive breakfast to start your day can help maintain the energy levels needed for proper maintenance and operation. Proper water management during the break-in process can also prevent issues like slipping or uneven wear. Ensuring correct auditory feedback can help monitor the belt’s performance and catch potential problems early. Being aware of the manufacturing quality of your belt can also influence its durability during break-in. Paying attention to proper tensioning techniques can further enhance belt longevity and performance.
Avoid Over-Tightening the Belt
Over-tightening the belt during break-in can cause more harm than good, so it’s important to get the tension just right. Excessive belt tension leads to premature wear, overheating, and potential damage to pulleys and bearings. To avoid over tightening, keep these points in mind:
- Check the tension regularly to prevent excessive tightness during the first 20 miles.
- Use a tension gauge to ensure proper belt tension, not too tight or loose.
- Remember that belt tension should be firm but not forced—you shouldn’t feel resistance when rotating the belt by hand.
- Adjust gradually if needed, avoiding sudden tightening that can stress components.
Proper belt tension ensures smooth operation and longevity, so don’t rush the process—aim for balance, not over tightening.
Skip Proper Break-In Period
Skipping the proper break-in period can lead to premature belt wear and reduced performance. When you ignore this vital step, you risk belt slippage during initial use, which prevents the belt from seating properly. Without a proper break-in, the belt may not achieve ideal tension adjustment, leading to uneven wear and decreased lifespan. Rushing through the process means the belt and pulleys won’t settle into their correct alignment, causing unnecessary stress on components. Take the time to follow recommended procedures, gradually increasing the load and monitoring tension. This ensures the belt develops a secure grip and reduces the chance of slippage down the line. Proper break-in is essential for long-term reliability and consistent performance of your UTV’s belt system. Additionally, Proper belt seating is critical for ensuring the belt functions optimally over its lifespan. Correct break-in procedures also promote better initial load management, which helps the belt and pulleys achieve optimal alignment and prolonging the overall lifespan of your system.
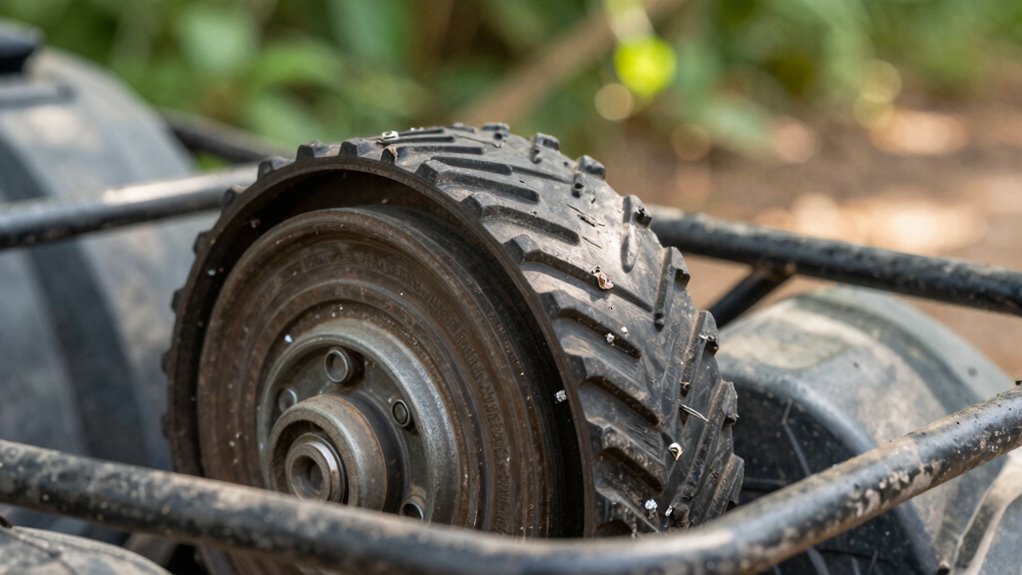
Signs Your Belt Is Breaking in Properly (or Not)
As your UTV belt breaks in, you’ll notice certain signs indicating whether it’s going smoothly or facing issues. Proper break-in is vital for belt durability, and paying attention to these signs helps you determine if tension adjustment is correct.
Monitoring belt signs during break-in ensures optimal performance and longevity.
- Slipping or squealing sounds during acceleration suggest the belt isn’t gripping properly.
- Excessive heat buildup indicates improper tension, risking premature wear.
- Visible fraying or cracking shows the belt isn’t bedding in correctly.
- Consistent performance without slipping points to successful break-in and ideal tension adjustment.
If you observe any of these signs, it’s a cue to reassess tension and guarantee the belt is breaking in properly to maximize durability and performance.
How Proper Break-In Helps Your Belt Last Longer
Properly breaking in your UTV belt is essential because it allows the belt to develop ideal grip and flexibility, which directly impacts its lifespan. During break-in, the belt material adapts to the pulleys, reducing slip and uneven wear over time. Correct tension adjustment is vital; too tight or too loose can cause premature wear or belt failure. When you follow the proper break-in process, you help the belt material reach its best state, ensuring better performance and longer life. This period allows the belt to conform properly to the pulleys, minimizing stress on the components. Regular tension adjustment during this phase ensures consistent contact with the pulleys, preventing slippage and uneven wear. Ultimately, a well-broken-in belt lasts longer and performs better in demanding conditions.
When and How to Replace Your UTV Belt After Break-In
After completing the break-in process, it’s important to monitor your UTV belt’s condition regularly. Replace the belt when you notice significant signs of wear, such as cracks, fraying, or glazing, to maintain prime belt durability. Timing depends on material compatibility; if your belt shows early signs of deterioration, replace it sooner to prevent costly damage.
Consider these key points:
- Check the belt every 10-15 hours of use for early wear.
- Replace when cracks or fraying become evident.
- Prioritize belts made with compatible materials for your UTV model.
- Don’t wait for complete failure—preemptive replacement preserves performance and reduces downtime.
Keeping these in mind ensures your belt remains reliable and durable, maximizing your UTV’s performance.
Tips for Maintaining Your Belt After the First 20 Miles
Once you’ve completed the initial 20-mile break-in period, it’s vital to stay attentive to your belt’s condition to guarantee peak performance. Regular belt conditioning helps prevent slipping and premature wear. Keep an eye on tension adjustment; too loose, and your belt may slip, reducing efficiency, while too tight causes unnecessary strain. Check the tension periodically, especially after rough rides or heavy loads. Adjust it according to your manufacturer’s specifications to maintain ideal performance. Inspect the belt for signs of wear, cracks, or glazing, and replace it if needed. Proper tension and timely conditioning ensure your belt remains durable and reliable, extending its lifespan. Consistent maintenance is key to avoiding unexpected failures and maximizing your UTV’s performance on every adventure.
Frequently Asked Questions
How Often Should I Inspect My Belt After the Break-In Period?
You should inspect your belt regularly after the break-in period, ideally every 10 to 20 hours of riding. During these checks, look for belt wear, cracks, or fraying, and make sure tension remains proper. Consistent tension checks help prevent slipping or premature failure. Regular inspections keep your UTV running smoothly and extend your belt’s lifespan, so make it a habit to keep an eye on these critical components.
Can I Accelerate the Break-In Process for Quicker Results?
You can’t really accelerate the break-in process for better belt conditioning. Trying to do so could cause premature wear or damage. Instead, focus on gentle, consistent use during the initial miles. Avoid aggressive acceleration or high RPMs, and gradually increase load. This natural approach guarantees your belt conditions properly without risking damage. Patience during the initial miles leads to a longer-lasting, more reliable belt in your UTV.
What Are the Signs of Belt Overheating During Break-In?
You’ll notice belt overheating when the symptoms start showing like a fiery glow beneath the surface—discoloration is your first clue, turning parts of the belt a darker, almost burnt hue. Feel for excessive softness or a sticky texture, signaling heat stress. If you see these signs, pull over immediately; ignoring overheating symptoms can cause permanent damage, turning your break-in into a costly mistake. Stay vigilant, and keep that belt cool.
Is It Necessary to Adjust Belt Tension During or After Break-In?
Yes, you should check and adjust belt tension during and after break-in. Proper belt tension guarantees ideal performance and prevents slipping or excessive wear. Follow the adjustment procedures outlined in your UTV’s manual, typically involving loosening or tightening the belt to the recommended tension gauge or deflection measurement. Regularly inspecting and maintaining the correct belt tension keeps your UTV running smoothly and extends the belt’s lifespan.
How Does Temperature Affect the Belt Break-In Process?
You might notice that temperature impacts the belt break-in process, as colder weather causes the belt material to stiffen, making it harder to seat properly. Conversely, warmer temperatures soften the belt, allowing it to mold better. Ambient humidity also plays a role, as high humidity can reduce friction, slowing break-in. To guarantee ideal performance, adjust your riding conditions accordingly, knowing that temperature and humidity influence how your belt sets in.
Conclusion
Remember, the first 20 miles are essential for your belt’s longevity—think of it as setting the foundation for its entire lifespan. Proper break-in can extend your belt’s life by up to 30%, saving you time and money in the long run. So, take your time, follow the steps, and keep an eye on signs of proper break-in. Your UTV will thank you with smoother rides and fewer surprises along the trail.